How to Display a Vortex Graphics Gallery in Unity
This page describes a step-by-step guide on how to export a Graphics Gallery from Vortex Studio, import it into a Unity project properly, convert it into a prefab and generate an Asset Bundle with it.
The process is shown using an excavator asset. Refer to this page for an overview of the Assets Workflow for Vortex Unity Graphics Integration.
Exporting a Graphics Gallery from Vortex Studio
- Open the desired Graphics Gallery document inside the Vortex Studio Editor.
- In the explorer, select the root of the gallery.
- Right-click, go into Gallery Tools and click on the Export action.

- Choose the export's destination folder.
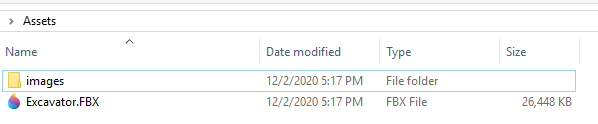
- This will save a FBX file, along with an "images" folder containing all textures.
Importing into Unity and converting into a prefab
- Copy both the FBX and the "images" folder anywhere into the Assets folder of a Unity project.
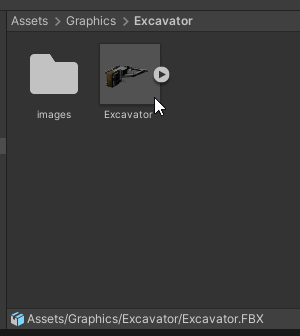
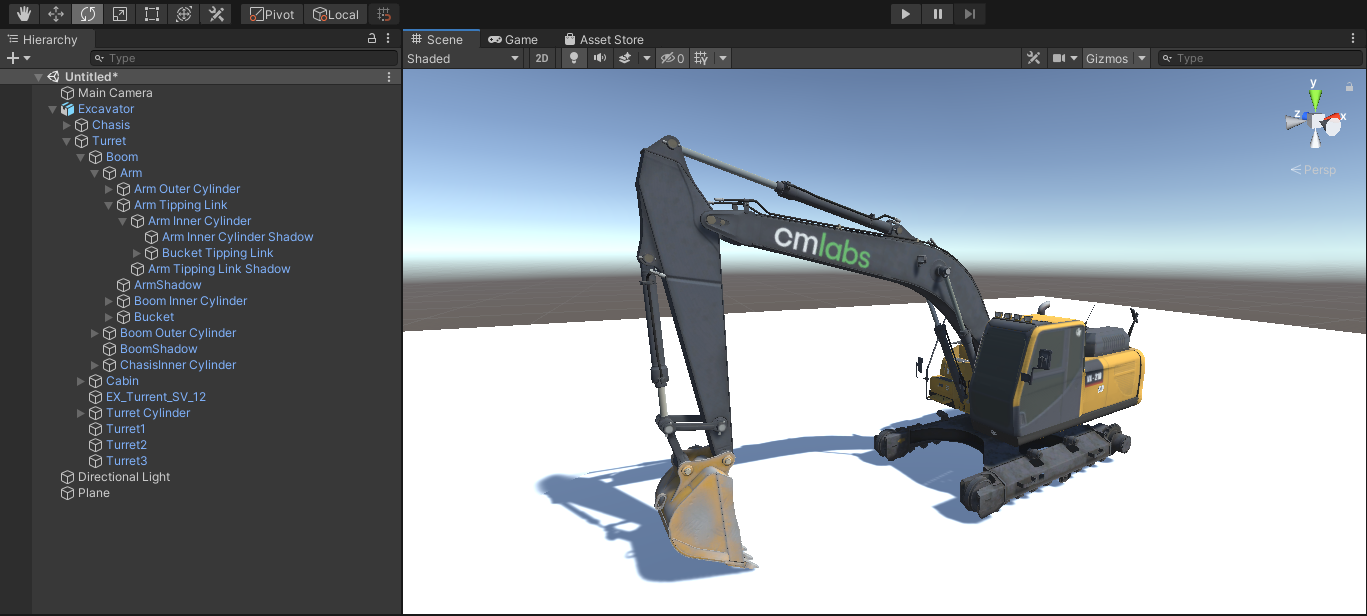
- Drag and drop the FBX from the asset browser into a Unity scene.
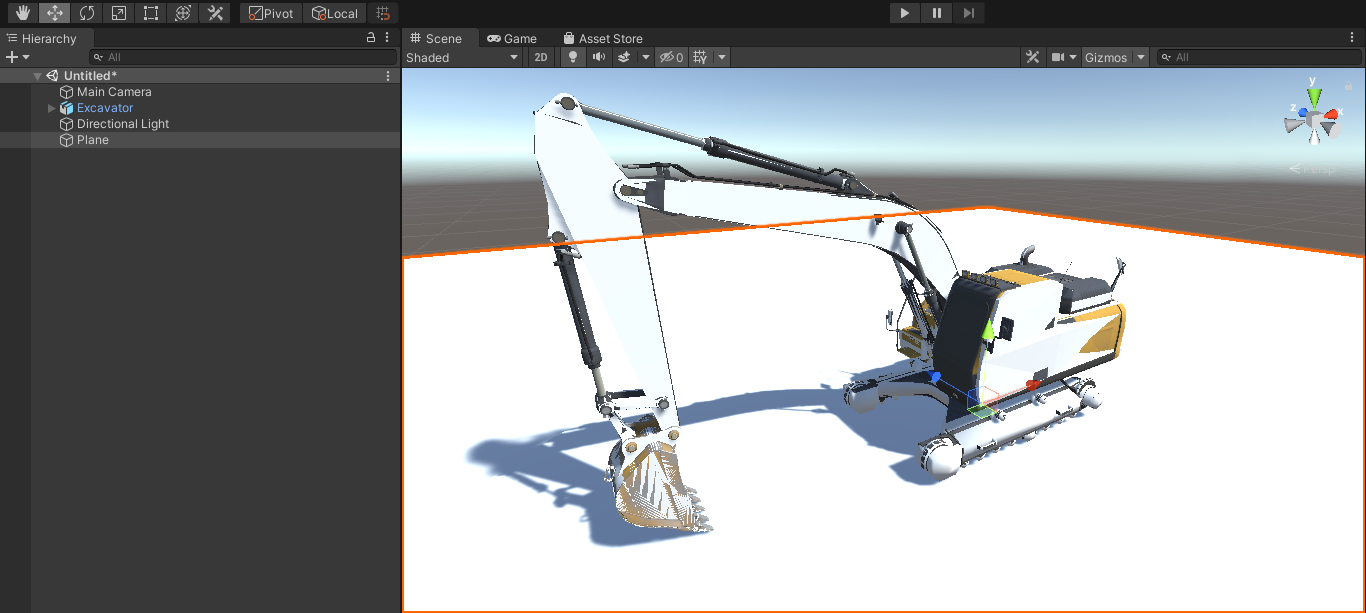
- Notice how the model's textures don't look right at first. This is because it has shadow volumes which currently act as normal geometry. N.B.: This step is only required for Graphics Nodes acting as shadow volumes. A shadow volume is a graphics node that casts shadows from an invisible and often simpler mesh, while another node displays a better detailed mesh that doesn't cast shadows.
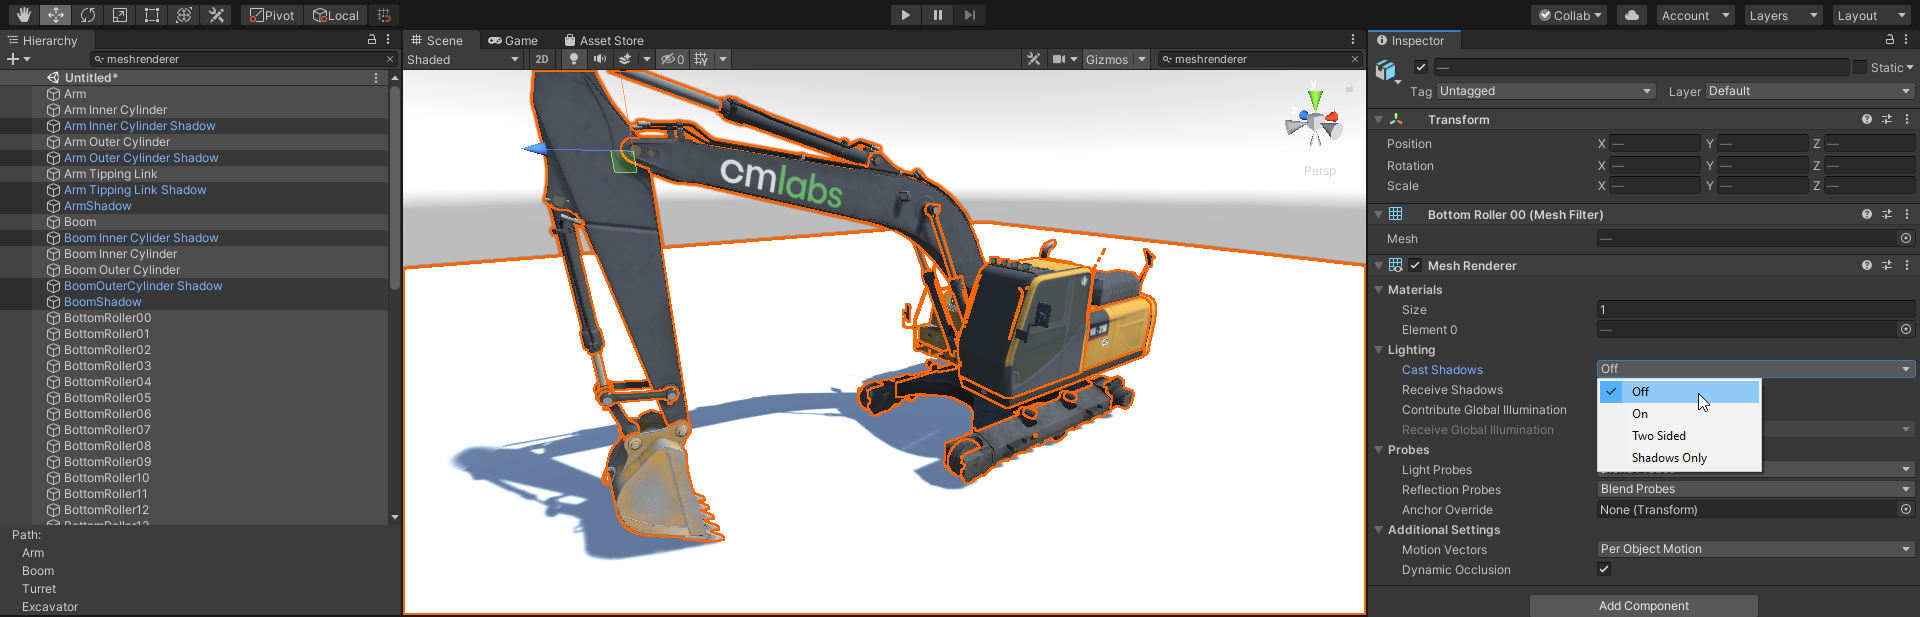
- To fix this, select all nodes of the model that correspond to shadow volumes. Knowing which ones correspond to shadow volumes requires some knowledge of the original gallery. Ideally, they would be identified by good naming convention.
- Inside the Mesh Renderer component of each node, set the "Cast Shadows" property to "Shadows Only".
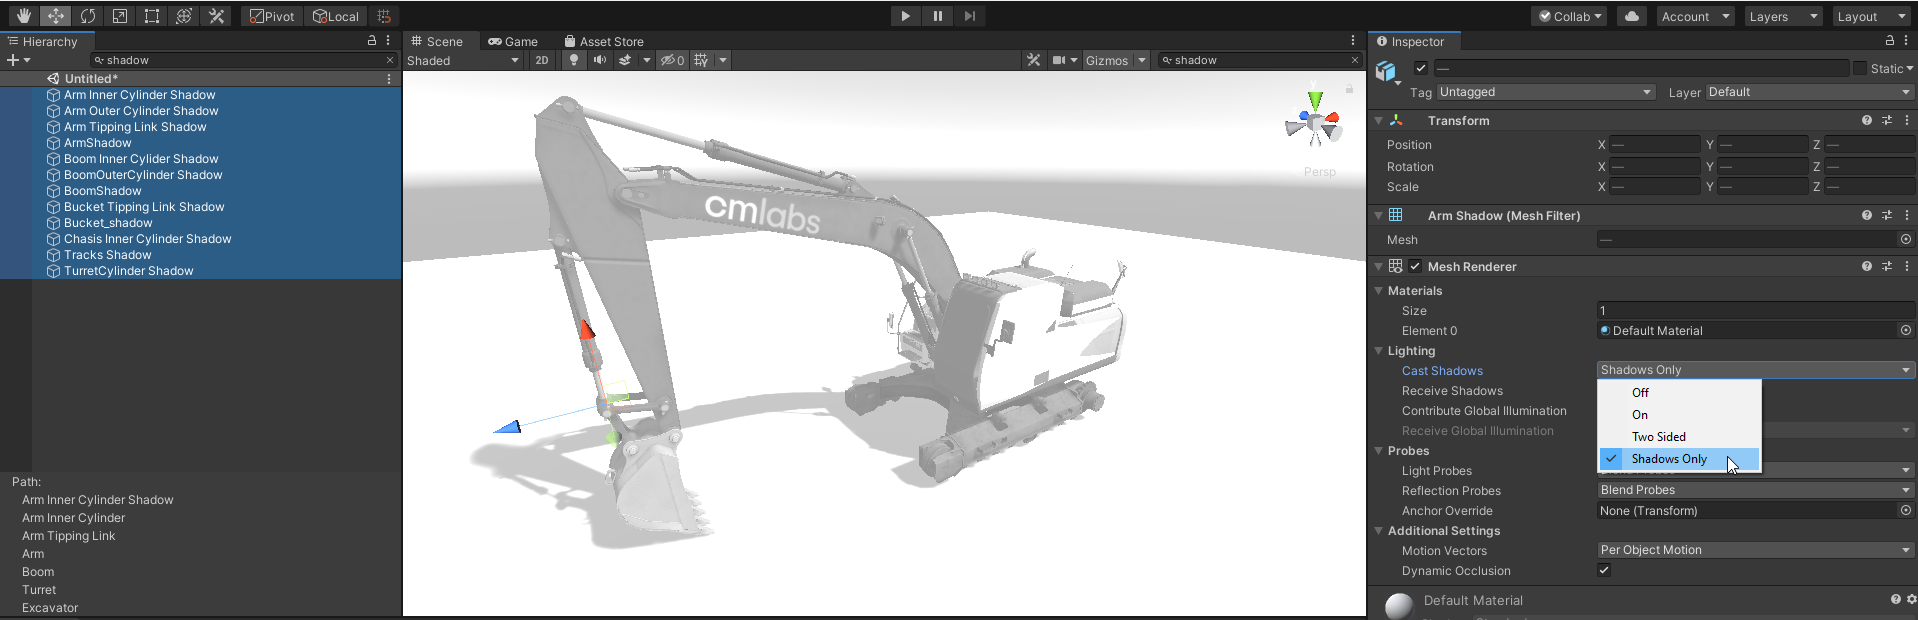
- This can be made relatively easily using the search option of the Scene hierarchy browser combined with multi-selection.
- Now, the model and its textures should look as expected. However, the default shadow casting needs to be disabled in order to take advantage of the more optimized shadow volumes set previously.
- To do this, select all nodes of the model that correspond to a detailed mesh that doesn't cast its own shadows, but that has a shadow volume.
- Inside the Mesh Renderer component of these nodes, set the "Cast Shadows" property to "Off".
- Again, this can be made relatively easily using the search option of the Scene hierarchy browser combined with multi-selection.
- At this point, the model is ready to be converted into a prefab. To do so, simply drag and drop the model's root from the scene hierarchy into the project's assets. Select "Original Prefab" to create it.
Make sure the prefab is named exactly like the name of the original Graphics Gallery; this is required for the Vortex Graphics Integration to map the correct prefab to its corresponding Graphics Gallery.
Generating an Asset Bundle
The process for generating an asset bundle is described in this section.