Simulator Deployment Tutorial 2 : Multi-Display Simulation
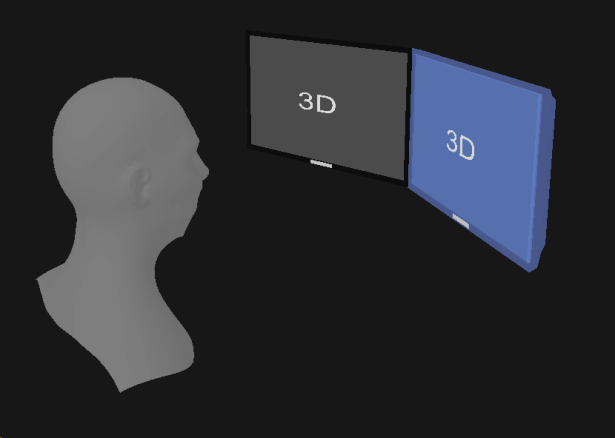
While the Player application only contains a single display, many simulators use multiple displays to create more immersive environments. This type of setup can be created using multiple nodes that each have displays configured based on their physical size and orientation.
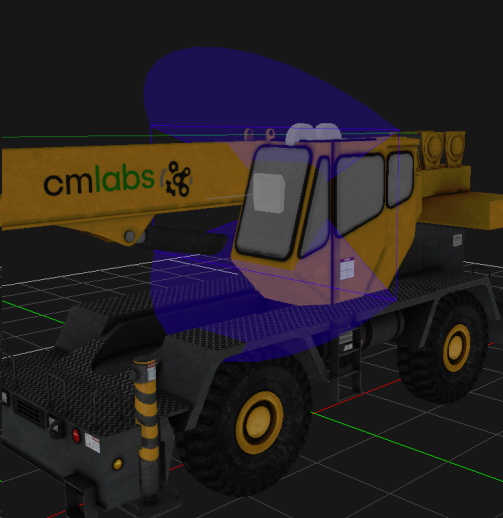
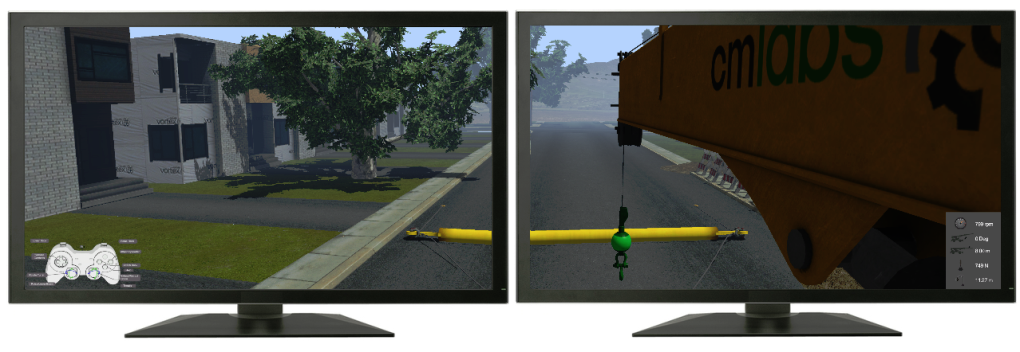
In this tutorial, we are going to deploy the Mobile Crane Scene sample on two screens, side-to-side.
Prerequisites
You need to have Vortex® Studio and the Vortex Studio Demo Scenes installed to be able to follow all steps in this tutorial.
You will need to have a multi-display setup running on your computer.
Setting up a Viewpoint
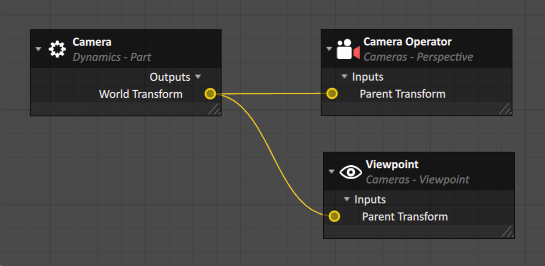
In order to setup a multi-display view, we need a Viewpoint extension in order to define where the perspective of the user will be located. It should be noted that a Perspective or Look Through camera cannot be used for this purpose.
Locate and open the Mobile Crane mechanism in your sample folder (...\Equipment\MobileCrane\Dynamic\Design\mobile crane.vxmechanism).
Locate the Viewpoint in the Explorer. If there is no Viewpoint, you can add it from the Cameras section of the Toolbox.
Follow the connection of its Parent Transform, in the Connections - Operator View connections container.
Connect it the Camera Part World Transform in the connections workspace.
- Modify the translation and rotation components of its Local Transform to [0.000 m, 0.000 m, 0.000 m] and [-90.000°, 0.000°, 90.000°].
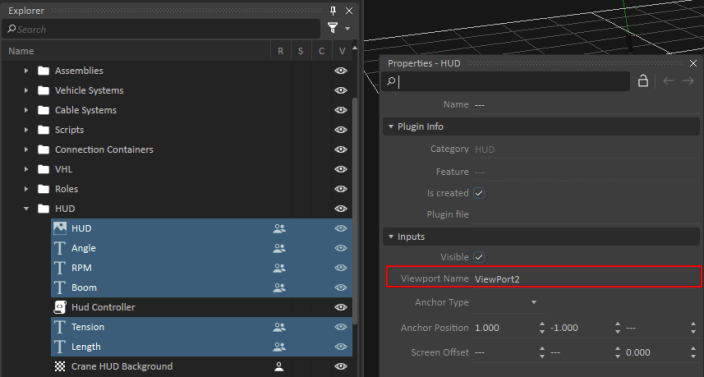
- In the HUD folder in the Explorer, select the HUD and Texts objects to access their properties.
- Modify the Viewport Name to "ViewPort2".
- Repeat for Help 2 in the InLine Help folder, with the Viewport Name "ViewPort1".
Creating the Setup File
- From Vortex Studio's main menu, create a Setup File from the New Document Section.

From the Presets section of the Toolbox, insert a Master with dynamics preset and a Slave with 2 windows preset.
The Master with dynamics preset will include a Master node containing the Dynamics Engine, as well as modules required to run the simulation (Humans, Qt, Network). The Slave with 2 windows preset will include a Slave node containing a Graphics module as well as two display extensions, a Joystick module and Audio module.
Access the properties of Display1 and Display2 modify their following properties:
Property Display1 Display2 Physical Position [0.500 m, 0.270 m, 0.000 m] [0.500 m, -0.270 m, 0.000 m] Physical Orientation [0.000°, 0.000°, 15.000°] [0.000°, 0.000°, -15.000°] Viewpoint Name Viewpoint Viewpoint Viewport Name ViewPort1 ViewPort2 Notice that we left the Physical Dimension to its default value. By default, these are the dimensions of a 24" monitor. If the monitors you are using are of a different dimension, you can change this value. Be careful to adjust their Physical Position accordingly.
- From the Content section of the Toolbox, add a Content Loader extension.
- In the Content Files section of its properties, add a file and browse to the mobile crane scene you modified in the previous section.
- Save (Ctrl + S) the Setup File in your working directory under the name "Crane 2screen Setup.vxc".
Deploying the Simulation
In Vortex Studio, a simulation setup is deployed using the Director. This application lets you define where the nodes will be ran on a network of computers. In this case, we will run all the nodes we created on the local machine, without having to setup a network.
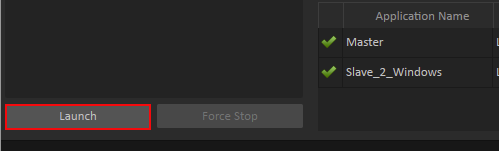
- Open the Vortex Studio Director.
- Add a Simulator by pressing the + button.
- Under Simulator Name, type "Crane Simulator".
- Under the Simulator tab, assign the Setup File to Crane 2screen Setup.vxc we saved in the previous section.
- Add two Simulation Applications by pressing the + button.
- Assign to them the Master and Slave_2_Windows nodes.
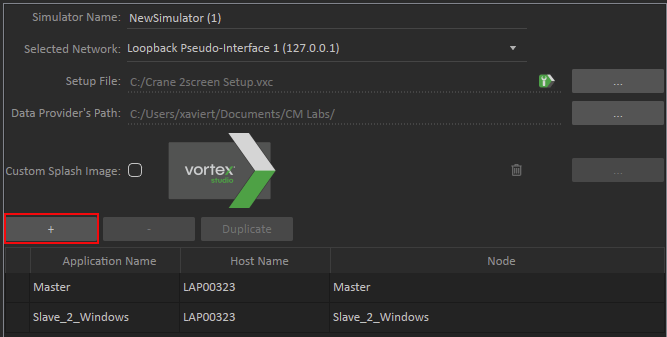
- Save the Simulator and Launch the simulation.