How to set up a Vortex Distributed Simulator for Unity
This page will guide you to go through the process of modifying a Vortex simulator to take advantage of the Unity Graphics Rendering.
Once your simulator setup will be ready to run with Unity, your simulator will behave as before. It can be launched from the Vortex Studio Director as usual and the interaction with the Vortex Console will be the same.
Preparing Assets
To use Unity graphics in a Vortex simulator, you first need to create graphics assets that can be rendered by Unity applications.
This page should be your first stop for details on the workflow of creating and editing assets: Workflow for Preparing and Using Assets for a Vortex Simulation with Unity Graphics
This step requires the Unity Editor 2019.4 and a valid Unity license, but these are not required to run the simulator with VortexUnityApp, which is the standard Vortex-Unity application and fills the same role as SimApp.
Adapt your Vortex Setup Document
The Vortex Setup Document needs to be adapted to be able to run with Unity.
Modify a setup document to be used with Unity Graphics slaves.
Any setup file can be modified to use Unity. Here is an example with the DemoConsole.vxc from the Vortex Demo Scenes.
- Replace the Graphics Module with the Vortex Integration Module in the graphics nodes.
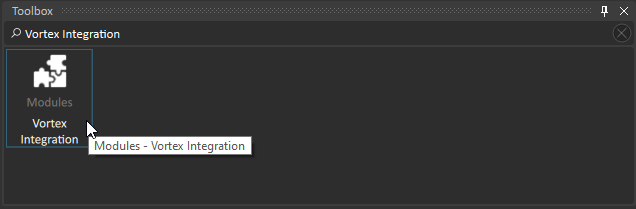
Make sure to add the Vortex Integration Module to the Seats where there was a Graphics Module.
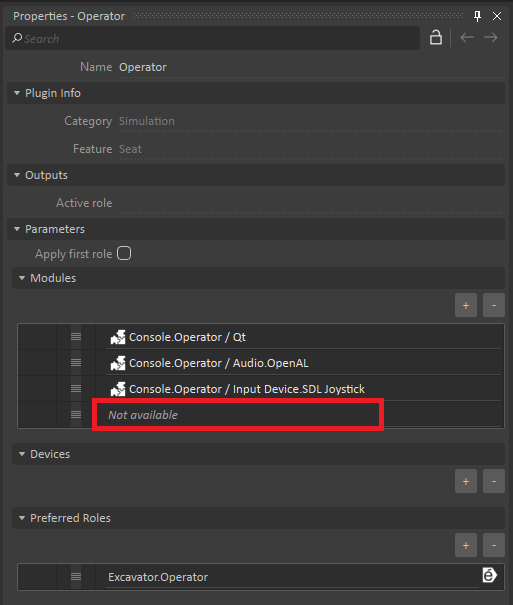
All references to the Graphics Module will Not be available and need to be replaced by the corresponding Vortex Integration Module.
The Seat in the Explorer view will display a warning which will revolve when the module reference is replaced:
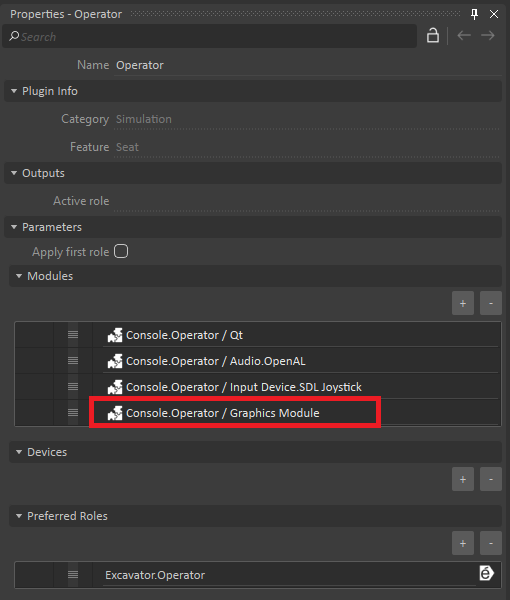
Seat modules references before replacing the
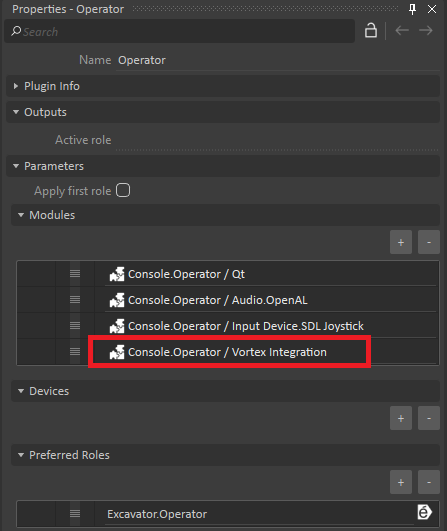
Graphics Module with the Vortex Integration ModuleAfter replacing the Graphics Module with the Vortex
Integration Module in the Console.Operator simulator nodeAfter replacing the module reference in the operator seat
- Set the Synchronization Mode of the Engine node to SW Sync and set Graphics nodes (Console.Instructor and Console.Operator) to Sync Off. V-Sync is done from Unity.
The fixed time step (the interval at which the physics is updated) of the Unity application will be automatically set to the inverse of the SimulationFrameRate parameter in the Vortex Setup document.
For example, a Vortex simulation frame rate value of 60 frames per second would convert to a Unity fixed time step value of 1/60 thus 0.01666667.
Configure your simulator
Configure your simulator to use your new Setup Document.
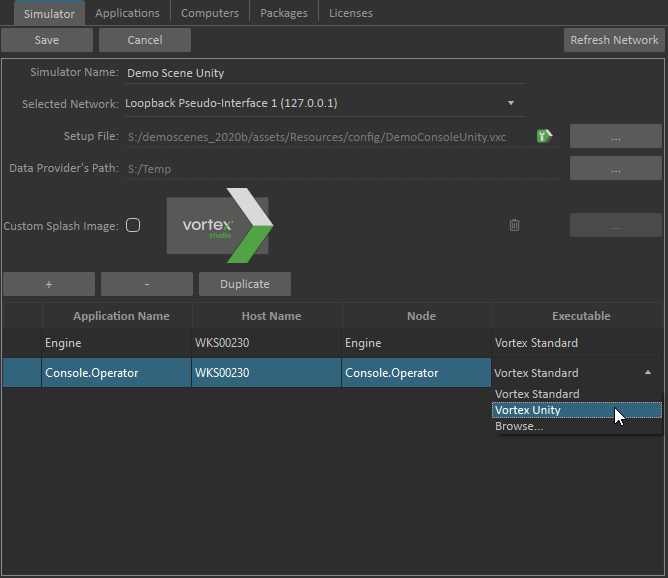
Once your simulator is configured with your Setup File for Unity, you need to select Vortex Unity in the dropdown list as shown in the below image for Graphics slave nodes. Alternatively, you can select your custom-built Unity application using Browse... option in the dropdown list if it includes the Vortex Integration Package.
For more info about Simulator configuration with the Vortex Studio Director, see Defining a Simulator with Director.