How to use Unity Script with an Asset Bundles
- DEVOPS
When using Unity as a renderer in a distributed simulator, the integration is done by adding prefab in an asset bundle that is associated with Vortex documents. Those prefabs are instantiated when the Vortex document is loaded. Several features in Unity requires a user script, however Unity Asset Bundles cannot refer to scripts that are not known by the Unity application.
We are solving that problem by putting those scripts in separate Windows DLLs that are loaded with VortexUnityApp is started. This allow the asset bundle to refer to contain references to scripts, and the scripts is taken from the loaded DLLs. Prefab in an asset bundle can contain references to script components from UnityEngine (of course!), VortexRuntime.dll, or any C# Class Library.
Setup the Simulator to load script plugin DLLs
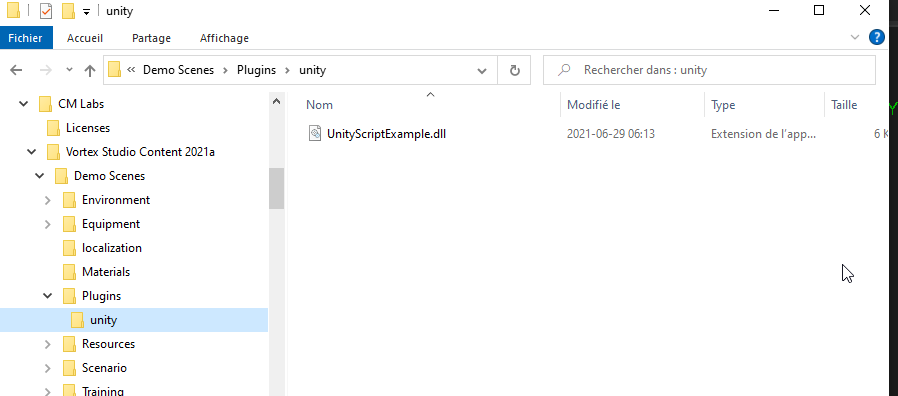
Unity integration will look into the Plugin directories that are specified in the root of the Setup document (vxc file) for your simulator. The dll must be in a unity subdirectory in order to be loaded.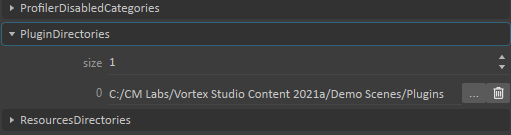
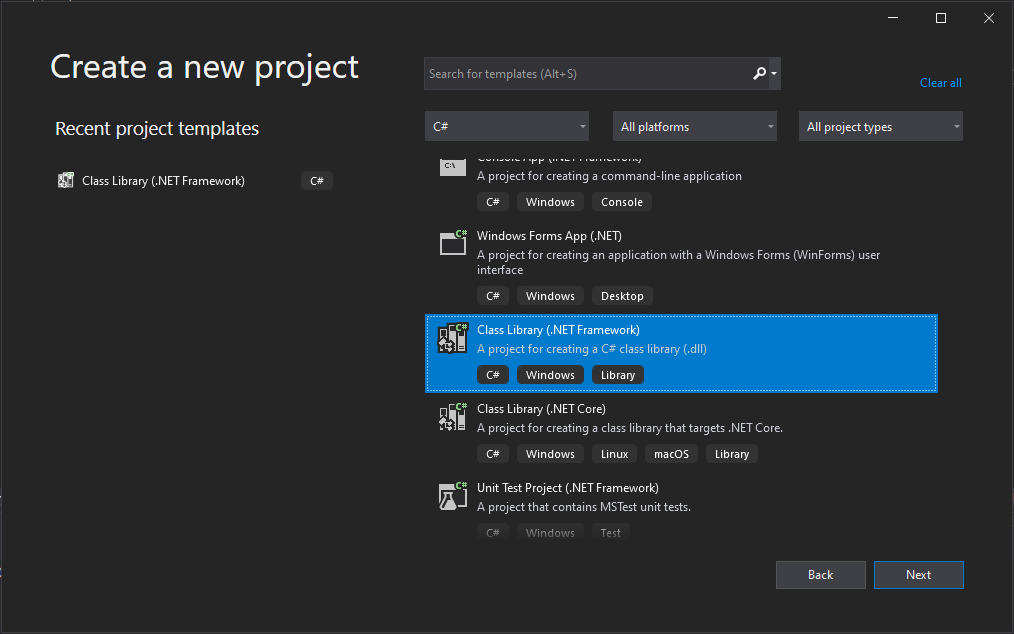
Create a C# Class Library project for your scripts with Visual Studio 2019
- In Visual Studio, create a new Project. Choose the following template : Class Library (.NET Framework)
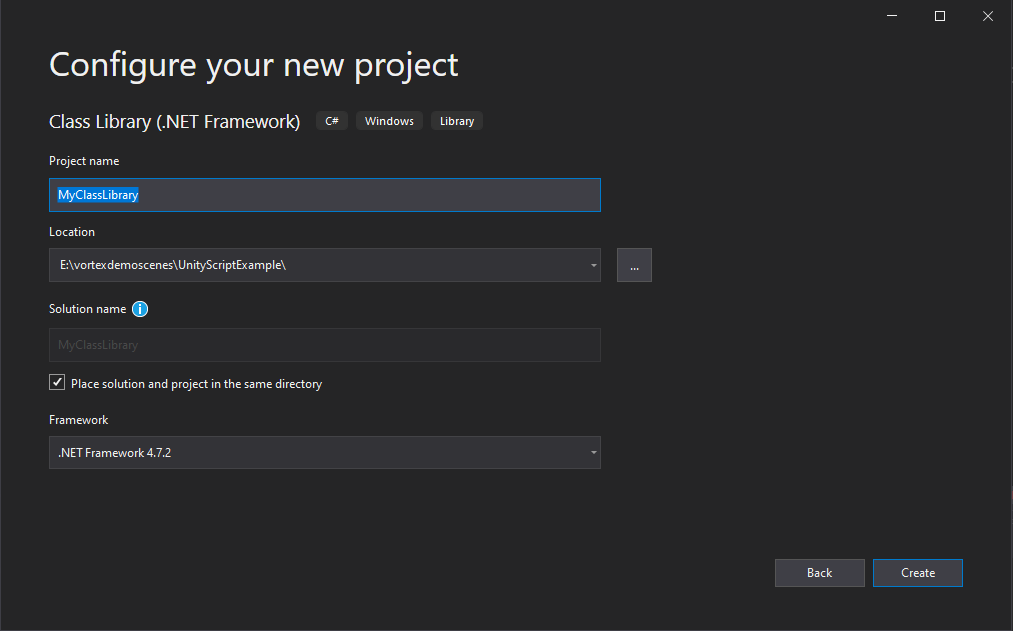
- Select a location near your Unity assets directory and select .NET Framework 4.7.2
- Select Release as the Solution configuration and add the x64 Platform

- If your script will use some of the VortexRuntime.dll functionalities, you will need to add it to the project's directory and add a reference to it. VortexRuntime.dll can be found inside the unity subdirectory of the Vortex Studio bin directory : C:\CM Labs\Vortex Studio 2021a\bin\unity
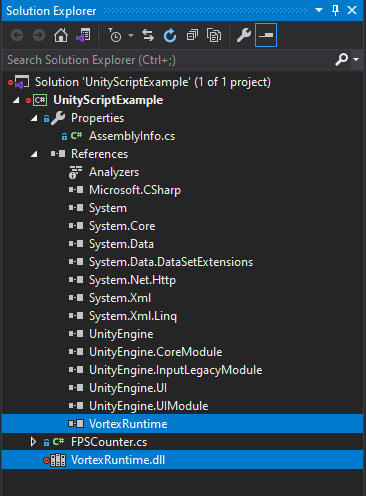
- Your project will probably require additional references to Unity's dll files to make your script work. Here are some additional guidelines to start with:
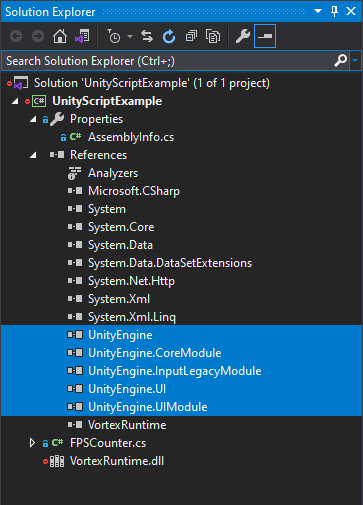
- Start by including UnityEngine.dll and UnityEngine.CoreModule.dll from C:\Program Files\Unity\2020.3.11f1\Editor\Data\Managed\UnityEngine\ . The path may change depending on your Unity installation path. These will let you use the basic MonoBehaviour functions. Other UnityEngine's dll should be referenced from the same path as well.
- If you need to access UI components, you should add a reference to UnityEngine.UI from C:\Program Files\Unity\Hub\Editor\2020.3.11f1\Editor\Data\Resources\PackageManager\ProjectTemplates\libcache\com.unity.template.hd-7.3.1\ScriptAssemblies\ . All other UI dll files should be referenced from this path as well.
- Don't add the whole Unity dll suite. You might end up with conflicts in definition.
- Consult the official Unity Scripting API for version 2020.3. Be careful to use the correct version
- Remember that the integration of Unity in Vortex is using HD Render Pipeline, that may change the dll you need to reference.
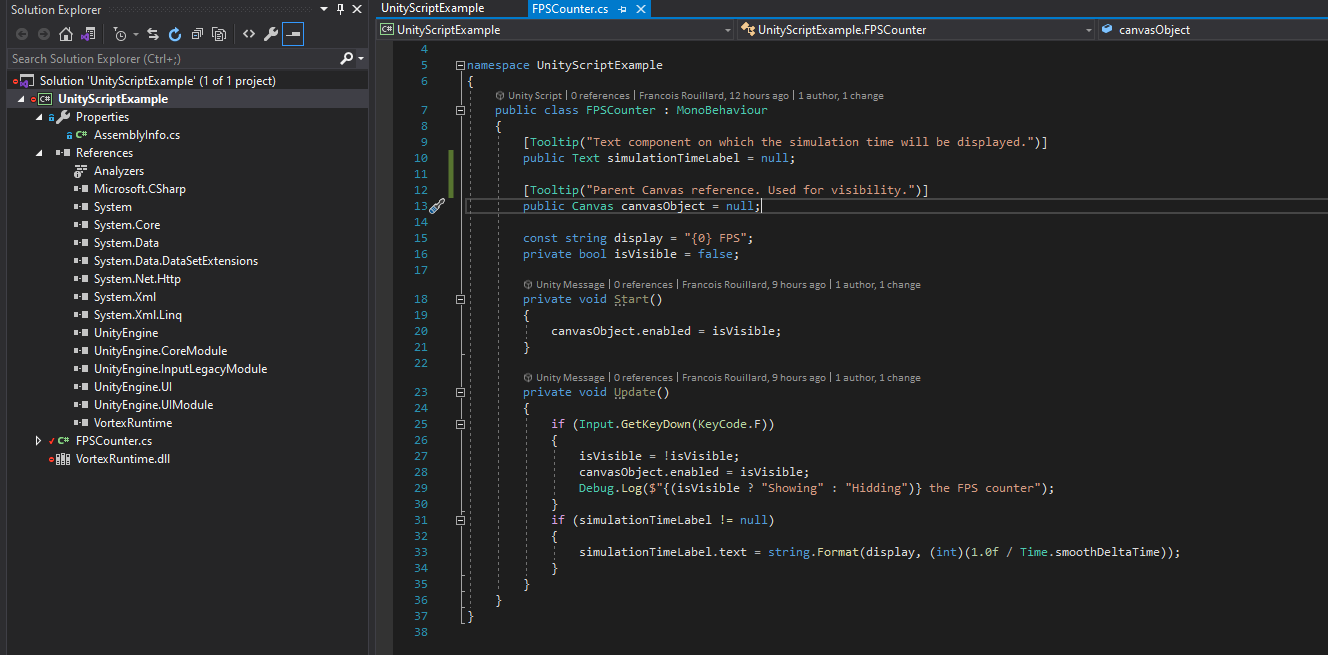
- Write your desired script and change the original Class name to a more specific one.
- For simplicity and to guarantee the proper integration of your script, add two post-build event commands to your project.
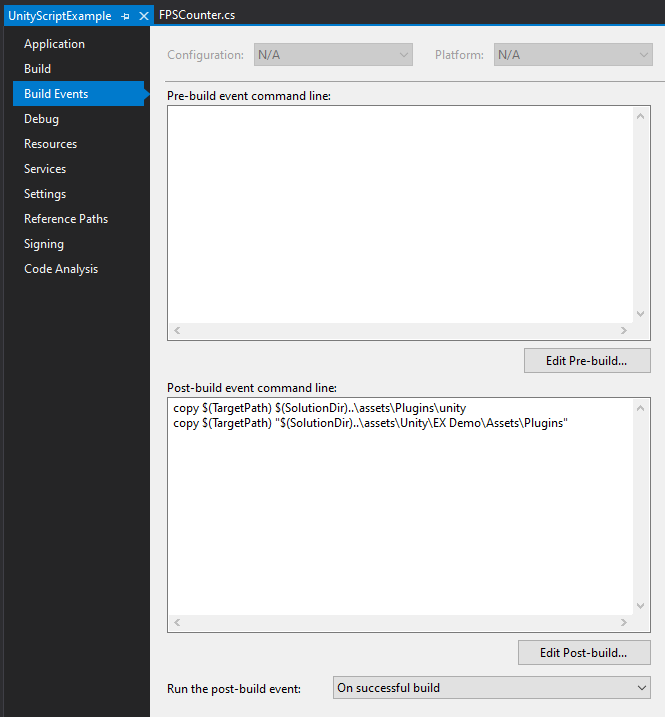
- Your first target directory should be inside your Vortex Content Directory. Please make sure that the last directory in the path is called "unity".
- Your second target directory should be inside your Unity Project Assets Directory. Make sure it is inside the Assets folder to be visible from Unity Editor.
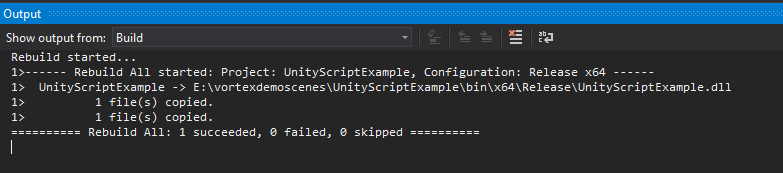
- Build the C# project and your script components are ready to be used on a Unity GameObject.
Add your script to a GameObject and generate an asset bundle
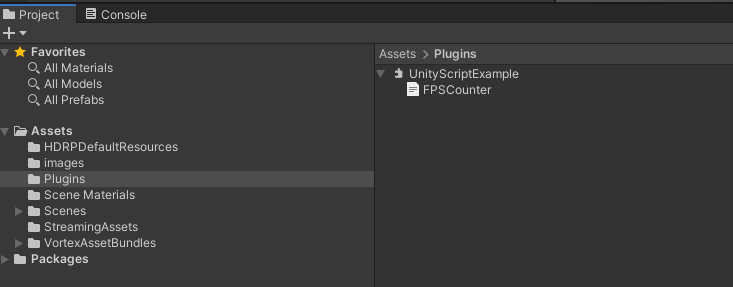
- Make sure your script library is included in your Unity project assets. You should be able to see the lists of scripts in the Unity Editor explorer.
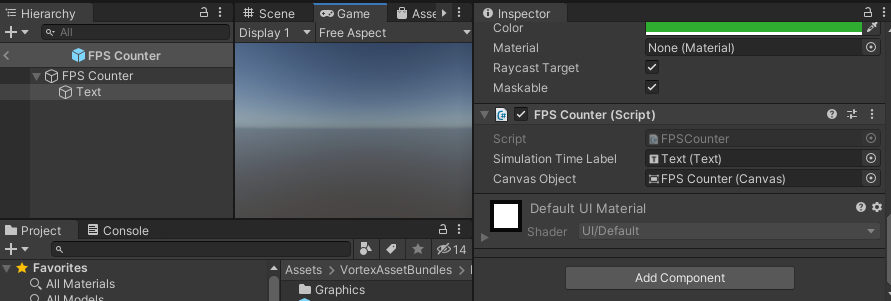
- Create a Prefab in the Unity Editor. In this example, we are creating a HUD extension that will show an approximate FPS counter with the refresh rate of Unity. For a step-by-step tutorial, please visit the page How to Display HUD Extensions in Unity. However, don't create an Asset Bundle for now. Add the script to a GameObject of your Prefab by selecting Add Component in the Inspector.
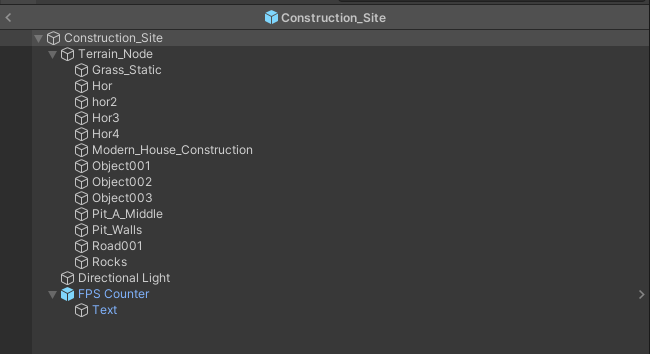
- In order to load your Prefab in your Simulator, you will need to combine it with an existing Asset Bundle. We suggest combining the Prefab with an existing graphic GameObject which is already loaded. In this example, we choose to add our FPS Counter inside the environment GameObject Construction_Site.
- Create a new Asset Bundle. For more details, please visit the page How to associate Vortex Objects with Unity prefabs.

After theses steps, your custom script should now be imported and run after launching your Simulator.