VR System Extension
- DEVOPS
From the Vortex Studio Editor, you can connect HTC Vive inputs, outputs, and parameters to any other input, output, or parameter in Vortex Studio using Connection Containers. Vive controllers and trackers can also be used independently from the headset.
Supported Hardware
Vortex Studio supports the following hardware configuration:
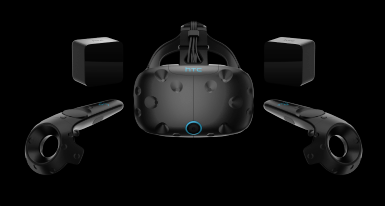
- Vive Pro Series Headset
- Two classic Vive controllers
- 2 Lighthouse base stations
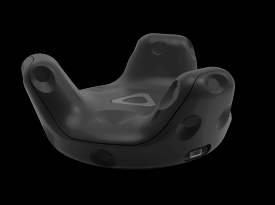
- 1 Vive Tracker 2018
Note: Using more different controllers or configurations may cause problems with your simulation.
Prerequisites
Before you start, you should be familiar with the following Vortex Studio concepts:
- Enabling VR in the Editor
- Connection Containers
- VHL Interfaces
- Script Extensions
Setting up the Extension
Setting up the VR System extension so that you can use an HTC VIVE with your simulation involves the following activities:
- Adding the VR system extension to your content
- Creating connections
Adding the VR System Extension to Your Content
Before you add the VR System extension, make sure that you have already set up HMD in the Editor.
TIP: If the VR window takes over your view, you can use Windows Task View to select the proper window
To add the VR System Extension to your content, do the following:
- In the Editor, open the scene or mechanism you want to add the extension to.
- In the Toolbox, under Display, add the VR System extension to the scene or mechanism.
- Wake up your VR hardware (headset, controllers, and trackers).
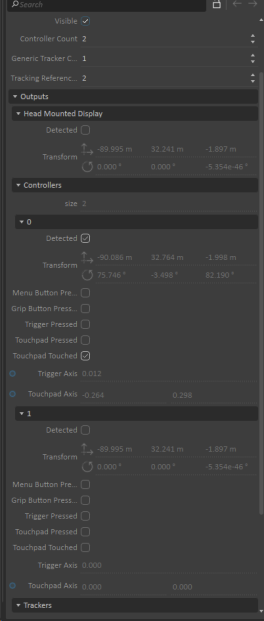
When the VR hardware is active, you can see the different transforms and button inputs update in real time on the Editor, and you can wire them to meet your needs.
Creating Connections
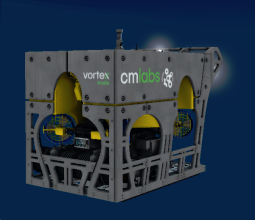
You must set up a VHL interface so that you can connections between your VR hardware and the Vortex Studio Content you want to use it with. For convenience, the following procedure uses an example from an ROV mechanism that you can find in Vortex Studio demo scenes.
To create connections between your hardware and your Vortex Studio content, do the following:
- Open mechanism file from installed demo content
\\CM Labs\Vortex Studio Content [release]\Demo Scenes\Equipment\ROV\WorkClassROV\WorkClassROV.vxmechanism. - In the Explorer panel, navigate to the Connection Container folder and double click the Connections - Controls extension to see the Connections Editor graph.
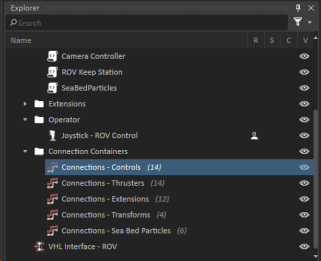
- Double click on the VHL Interface - ROV to see the VHL Editor interface.
- In the Explorer panel, click to select the VR System extension.
- Drag the Trigger Axis output field into the Outputs section of the VHL Interface editor.
- Click to select the Connections Editor tab (typically near the bottom of the app frame).
- Drag the Trigger Axis field onto the Connections Editor graph view.
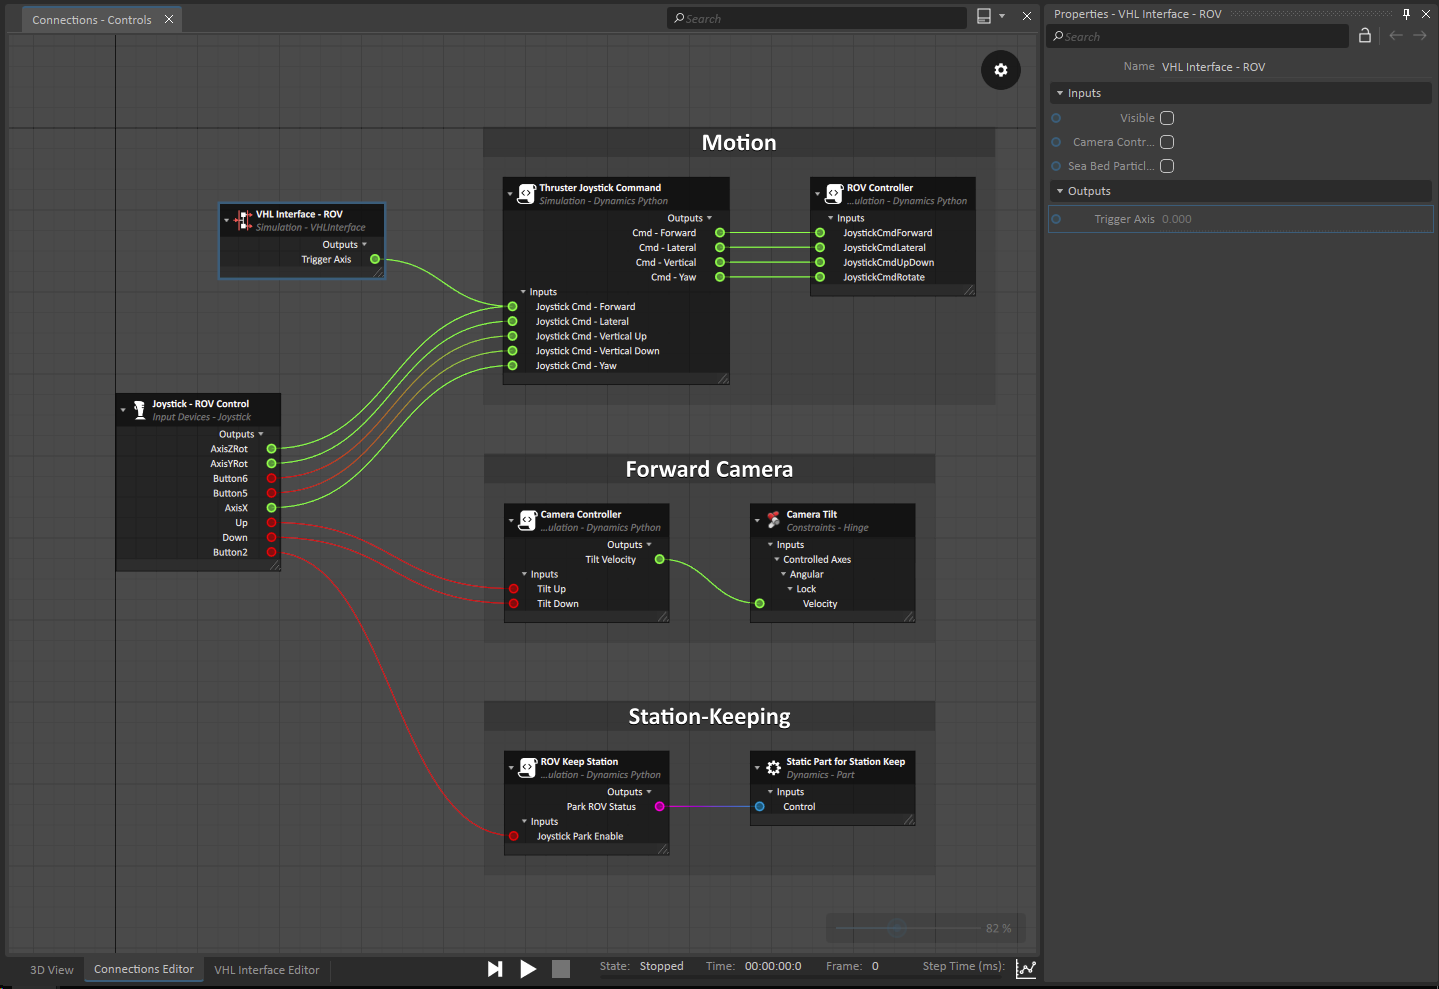
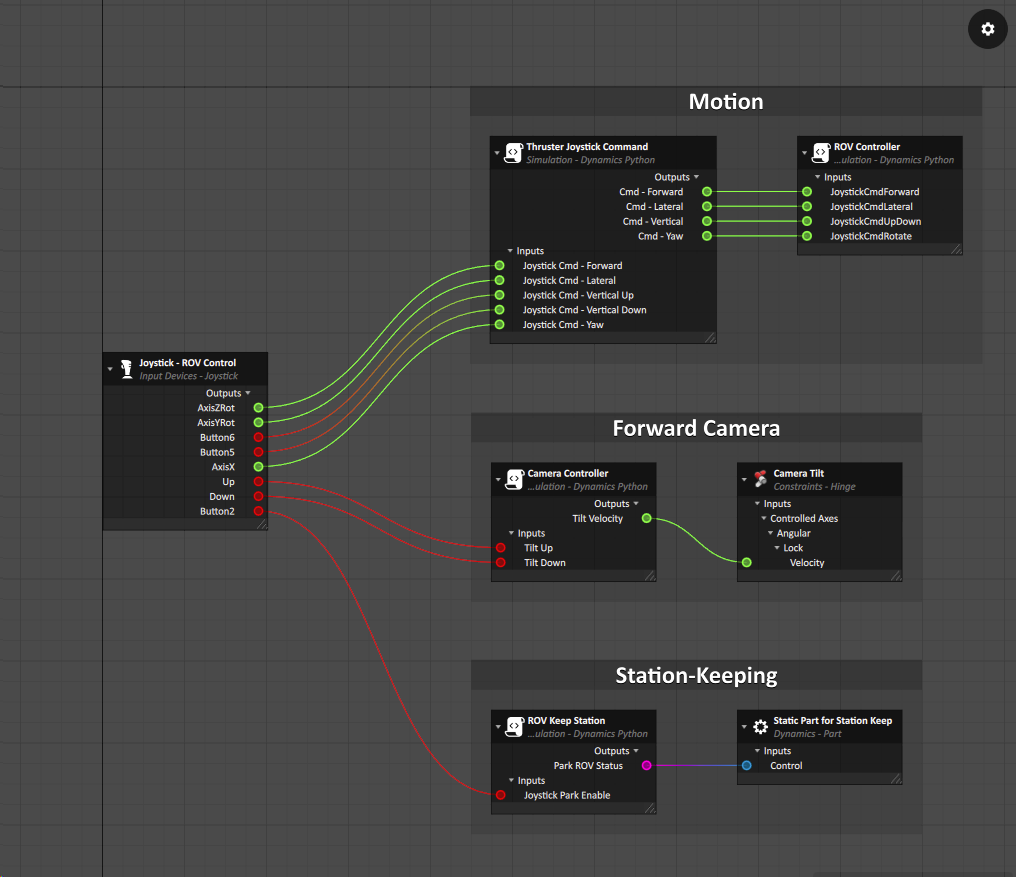
- Wire the VHL Interface - ROV Trigger Axis output to the Thruster Joystick Command - Joystick Cmd - Forward input.
- Start the simulation.
- Make sure your VIVE controllers are in view of your base stations and wake them up if necessary.
- Press on the Trigger button of the associated controller.


You should see the thruster fans of the ROV rotate in proportion to the amount of pressure on the VIVE controller Trigger button.
Limitations
This feature has the following limitations:
| Limitation | Workaround |
|---|---|
| You can only have one active VR System Extension in a scene at a time. | If you have multiple mechanisms that each have their own VR System extension, you can use Configurations to add and remove content. |
| Using more controllers than recommended can cause unpredictable behavior. | Limit the base stations to 2, the controllers to 2, and the trackers to 1. |
| Only classic VIVE controllers have been tested. | Contact Vortex Studio support for any issues with your own hardware. |