Options Dialog Boxes
Import and Export Options
- Import Previous Settings: If you have a previous version of Vortex Studio Editor installed on your computer, click this button to quickly import the options from that version.
- Import...: Selects a previous saved set of options (as a *.vxeditor file) to apply to Vortex Studio Editor.
- Export...: Saves the current options as a *.vxeditor file.
Grid Options
The Grid dialog allows you to customize how the grid appears in the 3D View (including turning it off altogether).
It also provides special settings that allow you to set up the grid as a terrain for performing simulations in the Assembly, Mechanism and Scene editors.
You can access the Grid options by right-clicking in the 3D View and selecting Grid....
Customizing the Grid
Use the following procedure to customize how the grid appears in the 3D View:
From the right-click menu, select Grid....
The Grid Options window appears.
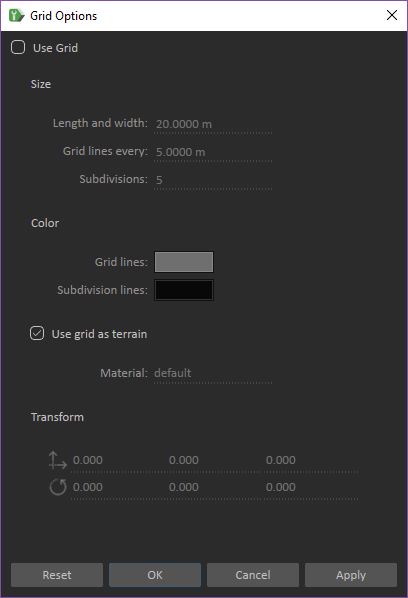
Make sure that Use Grid option is enabled.
In the Size section, enter the Length and width of the Grid in meters.
Length and width= 200 meters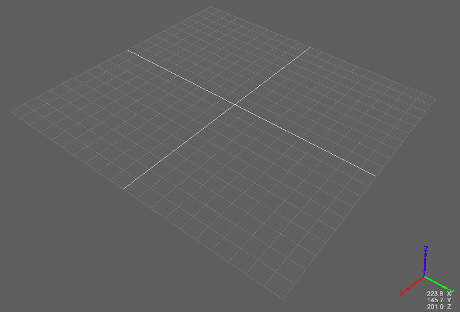
Length and width= 50 meters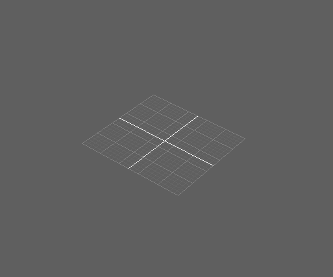
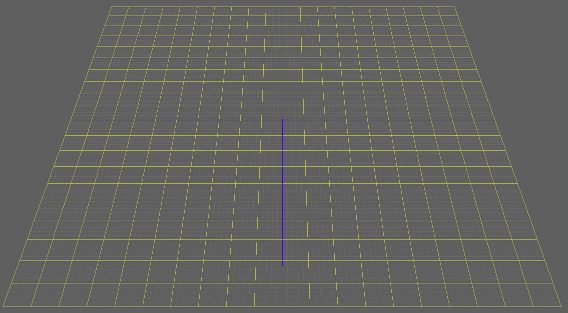
Define the a grid line per distance. For example, if you want to have a grid line every 5 meters, enter 5 and if you want a grid line every 20 meters, enter
20as the Grid lines every value.Grid lines every= 5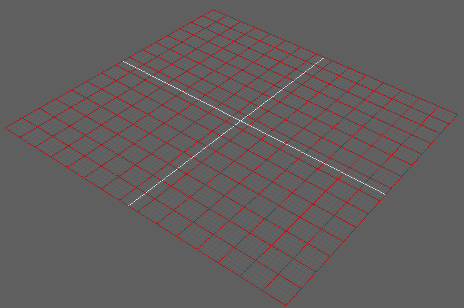
Set the Subdivisions value of a grid, which is the number of divisions inside a grid.
Subdivisions=2: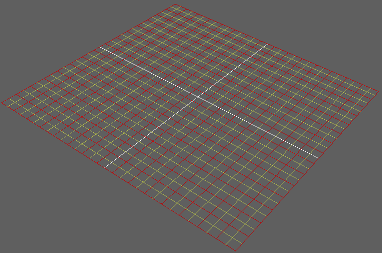
To set the color and its transparency of the Grid lines, and Subdivision lines, click the specific color chip and pick what you want from the Select Color window.
- The color of the grid lines is set to yellow:
- The color of the subdivision lines is set to red:
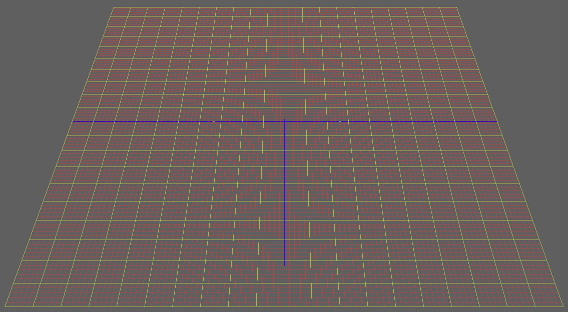
- The color of the grid lines is set to yellow:
- To set the material for the grid, make sure the Use grid as terrain option is enabled, then select a material from the drop-down list.
- You can change the position of the grid by using the available Transform tools. Pressing Reset places the grid back to the origin.
Application and Add-ons Options
You can change the following application and add-on (including plugins and libraries) settings through the Options window.
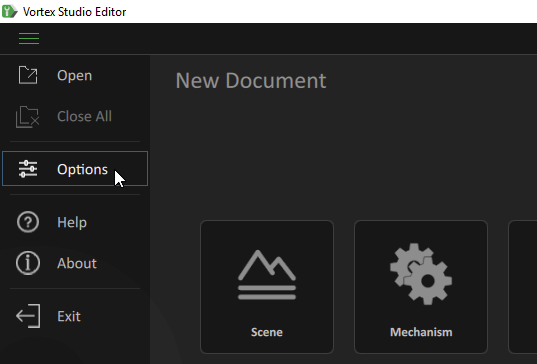
To access the Options window, click Options from the Vortex® Studio Editor Home page.
 Display
This tab offers specialized options for:
- Anti-Aliasing: A computer graphics technique used to remove jagged and pixelated edges from images. Select the type of anti-aliasing you want to apply to the scene.
- None: Applies no anti-aliasing.
- FXAA (best performance): Fast Approximation Anti-Aliasing. This effect adds a lower quality anti-aliasing that uses fewer system resources than SMAA.
- MSAA: Multisample anti-aliasing. The sampling rates you can select are 2x, 4x, 8x, 16x. A 2x rate means that two samples per pixel are used to compute an average pixel that is ultimately displayed. The higher the number of samples, the higher the quality of the anti-aliasing and thus the cost to performance.
- SMAA (best quality): Enhanced Subpixel Morphological Anti-Aliasing. Applies a high quality anti-aliasing to the scene, requiring more system resources than FXAA.
- SMAA S2x: This method combines SMAA with MSAA 4x.
NoteYou can also add anti-aliasing via the Setup file. In the Setup file, find the Graphics Module in the Explorer panel (added via Graphics Module OSG in the Toolbox), and in the resulting Properties panel, choose an anti-aliasing method.
- Enabling screen space ambient occlusion (SSAO). You can also enable SSAO within the Setup file, by adding Screen Space Ambient Occlusion from the Effect section of the Toolbox.
- Specifying whether or not to use the default light when adding new lights. You can also adjust the ambient light intensity, as well as choose to have the default light cast shadows.
- Highlight: When you select the Highlight objects when hovering the mouse box, moused-over objects are highlighted in the 3D View with colors specified in the Highlight Contour Color and Highlight Object Color fields. Click the colored rectangle for each field to bring up a dialog box to select the required color and its transparency. Alternatively, the Setup Editor's Graphics Module can also set the color (RGB) and transparency for the Highlight Contour Color and Highlight Object Color parameters.
- Overlaying a Grid. Select this box to show a grid overlay in the active viewport. From the Grid Display Mode drop-down, select:
- Default: The grid will display in mechanisms, assemblies, and parts.
- All On: The grid will always display in all file types.
- All Off: The grid will not display in all file types.
Setup
This tab offers specialized options for:
- Swapping a custom materials table for the default provided by Vortex Studio (this should only be used by the most advanced users).
- Specifying an Application Setup file to load.
- Log File: Click Open... to view the application log file.
- Plugin Paths: Click Add Path to specify the location of a plugin you want to include in the simulation.
Simulation
- Restore values after simulation: Allows you to choose whether all values altered during a simulation revert back to their original values once the simulation ends, or only kinematics and outputs.
- Toggling the visibility of accessories during simulation
Plugins
This tab displays the list of plugins installed in the Editor. You can load plugins from disk, see brief or detailed information about them, and enable or disable them.
Plugins are used to extend and customize the features and functionality of the Vortex Studio application. The list of plugins is grouped by category. For example, the Utility category includes these plugins among others:
- VxSimPython
- VxSimRecorder
You can toggle the list under each category between appearing expanded or collapsed by clicking the arrow to the left of the category name.
Each item appears with a visual cue that indicates whether it is successfully enabled, locked, disabled or not found:
| Enabled (ready to use) |
| Locked (cannot be enabled or disabled) |
| Disabled (must be enabled before it is available to use) |
| Error (the application was able to detect that this plugin should be available, but there is some problem with it; for example, the .vxp file was not found) |


By default, plugin files are located in the plugins subdirectory of the Vortex Studio Editor installation directory with the .vxp file extension.
When you have a plugin to use in the Editor, you need to make sure that the Vortex Studio plugin file (.vxp) is in this location. As soon as you move a plugin file into the plugins folder, it appears on the Add-on Libraries tab, even if you moved it there while the Editor was still running. Then you can click on its Load button to load and enable it in the Editor.
Note If you see an error icon next to one of your plugins in the list, that indicates there are some errors with the plugin file.
After you correct problems with your plugin, you can click the Load button to reload it.
By default, all plugins installed in Vortex Studio are enabled; however, if you need to toggle a plugin, you can follow this procedure.
- Go to the Home page and select Options.
- Click the Plugins tab to view the list of installed plugins, grouped by category.
- If you need to expand the category to see its plugin items, click the arrow to the left of the category name.
- With your mouse, hover over the plugin you want to enable (or disable). The item now appears with two extra buttons: Details and Enable (or Disable if the item is already enabled).
- Click the Enable (or Disable) button.
- Click Save. The Options window closes. If the plugin has a panel, for example the Vortex Studio Python Editor Panel, it will now be accessible in the interface.
Keyboard
This tab displays a list of all the keyboard shortcuts in Vortex Studio Editor and their descriptions.
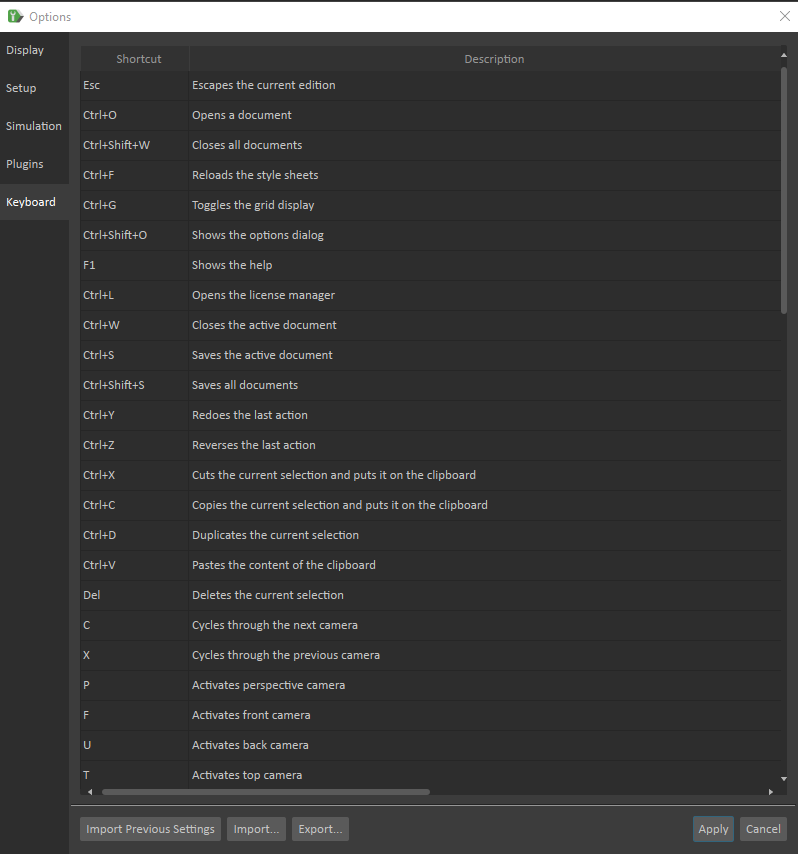
The following are additional shortcuts available in Vortex Editor and not listed in the widget.
3D View Controls
- F2: Toggles wire-frame modes
- F3: Toggles the Graphics Information Display
- F4: Toggles the application's free-running flag. Also toggles the monitor vertical-sync flag. This shortcut can be used to remove all sleeping done by the application and get more stable profiling numbers.
- F6: Controls the frame capture overlay. Enables the overlay when it is disabled and vice versa.
- W (or Up arrow): Move the view forward
- A (or Left arrow): Move the view horizontally left
- S (or Down arrow): Move the view backward
- D (or Right arrow): Move the view horizontally right
- E (or Page Up key): Move the view vertically up
- Q (or Page Down key): Move the view vertically down
Testing while a simulation is running
- ALT+left mouse button: Simulates dragging an object behind the mouse cursor, as if the object were connected to the mouse via a spring.
- ALT+middle mouse button: Toggles between freezing and unfreezing a simulated object.
- ALT+SHIFT+middle mouse button: Rotates the object around the selected point on the object.
- ALT+SHIFT+left mouse button: Repositions the object in space.