Graphics Materials
- DEVOPS
A graphics material is an advanced type of texture mapping that allows visualizing objects as close to real life as possible. Materials can be used for rendering (textures and parameters used on each layer, such as normal, specular, etc.) and special effects in your simulation.
Then there are a number of overall material parameters you can set.
Selecting a graphics material from the Explorer opens a Properties panel for that material. To add a graphics material, double-click Graphics > Material in the Toolbox. In the Properties panel, you will see an Interactive 3D preview of the graphics material.
In the Properties panel, configure the following fields:
- Shading Mode: From the drop-down menu, select the shading mode that matches the one that was used when creating the material in your digital content creation software. If you select PBR - Metallic Roughness, see the Physically Based Rendering (PBR) topic for more information.
- Blend Mode: You can set the following Blend Mode parameters from the drop-down list to blend the material with what's behind it.
- Opaque: do not blend.
- Masked: used for transparent mesh effects, such as fences or iron grids, where the opacity is always either zero or one. If the alpha value is 1, use the material; otherwise show what's behind.
- Modulate: blend the material with what's behind using the alpha value; used for translucent materials
- Additive: add the material to what's behind it; used for emissive particle materials, such as fire or lighting particle effects
- Dither: use dithering to show what's behind.
Parallax: Select this box to enable a technique used to add depth to materials without modifying the underlying geometry. Note that turning this feature on is computationally expensive, and requires a height map to be specified. A height map is a gray-scale image that contains the relative heights of the texels (relative to the other texels in that material). White designates the highest point. The Factor value for the height map material channel controls the strength of the parallax effect. It should be modified to achieve the desired look. The exact value can be different from material to material, and is directly influenced by the values in the height map texture. The commonly acceptable values can range from 0.01 to 0.2, but can take any other value that produces the desired result.

Height map example 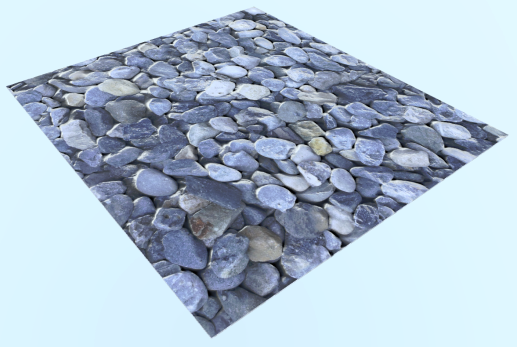
Material without parallax
Material with parallax using the height map in the example aboveSelf Shadow: Select this box to allow the material to simulate casting shadows on itself, thus adding depth to a material. Only directional lights will cast self shadows. This feature is effective for materials that have Parallax enabled.
Self shadowing requires a height map to be specified. Note that turning on Self Shadow is computationally expensive, and is normally not visible for PBR materials.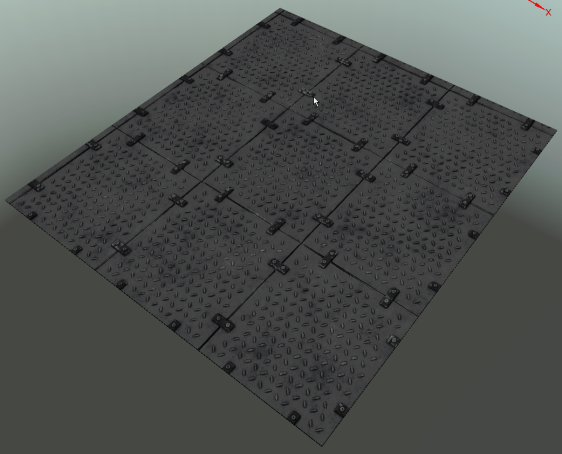
Material without self shadowing
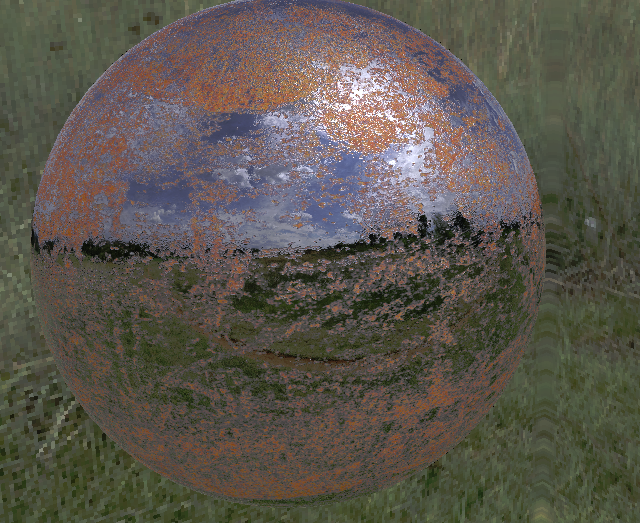
Material with self shadowingEnvironment Reflection: Toggle whether to enable the reflection of a SkyDome/SkyBox in a material. Note that even when the SkyDome/SkyBox's Visible field is not selected, the environment will still reflect it.
This property requires the presence of an active ambient light in the Scene. This ambient light can be provided directly by a SkyDome, or added manually (which is required for the SkyBox).- Reflection Factor: Controls the quantity of environmental reflection desired in a material. Values must be between 0.000 and 1.000.
- Material parameters (see section below for more details):
- Emission: atlas map that is self-illuminating.
- Occlusion: atlas map to define a surface's ambient occlusion.
- Albedo: atlas map to define a surface's main color.
- Specular: atlas map to define a surface's shininess and highlight color.
- Gloss: atlas map to define a surface's hardness.
- Normal: atlas map used to control the direction of each pixel's normal.
Interactive 3D Preview
When you select a material, a 3D preview appears in the Properties panel.
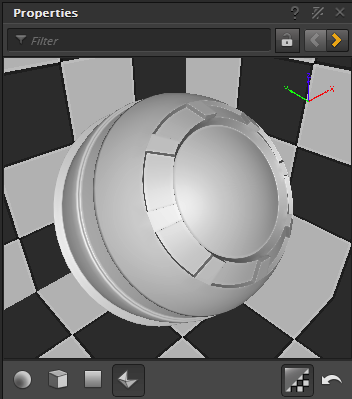
Click and drag with the left mouse button to rotate the preview shape, and use the mouse's scroll wheel to zoom.
The buttons along the bottom perform the following actions:
 : Preview the material using a sphere.
 : Preview the material using a box.
 : Preview the material using a plane.
 : Preview the material using a multi-textured mesh.
 : Toggles a checkerboard background pattern.
 : Resets the preview to default settings.
Material Parameters
Each of the material parameters (Emission, Occlusion, Albedo, Specular, Gloss, Normal, Height Map) properties uses the same set of texture parameters which you can customize to create the right effect for the scenario.
To attach a texture to a material parameter:
- In the Properties panel, click the + button to add a layer of the desired parameter.
- Name the layer.
- Hover over the Texture field, click the vertical Browse button that appears, then click the horizontal Browse button.
- Select the desired texture from the Explorer.
- Repeat the above steps to apply a Mask Texture to the layer, if desired. This is a gray scale texture that will obscure part of the underlying texture layer. Black will totally mask the area, gray will partially mask it, while white will let all color pass.
- Select a Factor that will filter the texture layer, ranging from 0.000 (blocks all texture) to 1.000 (passes all texture).
- Choose the color of the material (if applicable).
- Repeat these steps for additional layers. Subsequent layers are added on top of previous ones.
Note The maximum number of textures you can use for a single graphics material is 16. The current number of textures left is displayed in the Sampler Count Left field at the bottom of the Properties panel.All textures are considered gamma-corrected (sRGB) except for Mask Textures and any textures in the Normal parameter.
Physically Based Rendering (PBR)
Physically Based Rendering (PBR) is a set of rendering equations and concepts that can produce photo-realistic visuals. To take advantage of PBR, proper textures need to be used.
PBR Textures
The Vortex® Studio engine supports the Metallic Roughness PBR workflow. In this workflow, three texture types are necessary for the computation of PBR.
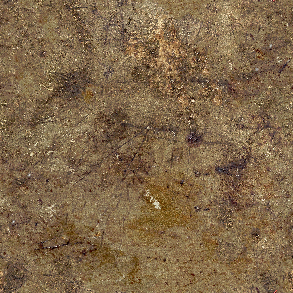
- Albedo: Raw color with no lighting information.
- Metalness: Sets the amount of metal in the microsurface. 1.0 is metal and 0.0 is non metal. Values in between indicate surfaces that cover raw metal, such as dirt.
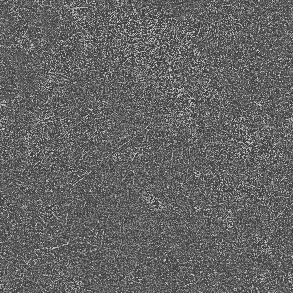
- Roughness: Describes the microsurface roughness of the object. 1.0 is rough and 0.0 is smooth. Rough microsurface causes the light rays to scatter broadly and appear dimmer.
| Albedo | Metalness | Roughness |
|---|---|---|
|
|
|

These textures can be created and exported with a material authoring software. This workflow to generate textures has been tested using Substance Designer.
PBR Materials
Once the PBR textures are created they can be applied to a material. When a new material is created, its Shading Mode is set to Non-PBR - Specular Glossiness by default. Set the material shading mode to PBR - Metallic Roughness.
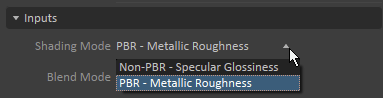
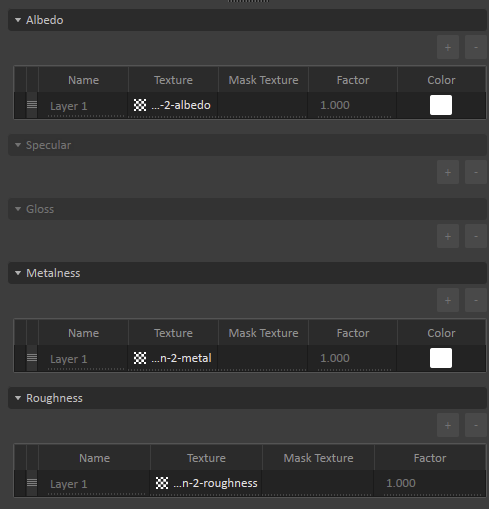
The material will now use the PBR workflow. The three PBR textures can then be set in the material properties:
PBR Environment Information
To make use of PBR, the PBR environment information must also be set. That is done either by using a Light Probe extension, SkyBox, or SkyDome. The complete PBR environment data consists of three parts:
- Irradiance Map: A cube map holding the diffuse part of the lighting equation.
- Prefiltered Map: A cube map holding the specular part of the lighting equation.
- BRDF Integrator: A texture holding computed values for a bidirectional reflectance distribution function. It defines how light is reflected by an opaque surface.
The PBR environment information is specified either in the SkyBox or the SkyDome. The data for the environment can be manually set or automatically generated.
Automatic Environment PBR Information Generation
The Light Probe Data Generator child extension within the SkyDome or SkyBox can automatically generate the three pieces of the PBR input.
The SkyDome extension automatically invokes the light probe data generation when any of its visual parameters are changed (like the time of day).
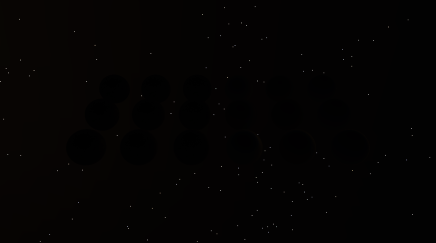
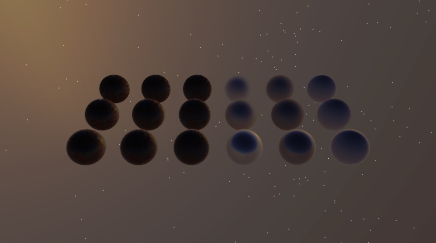
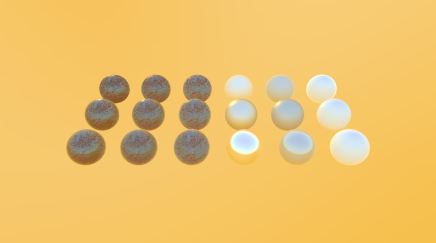
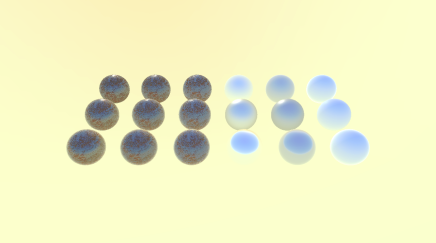
Here is an example of how changing the time of day affects the appearance of PBR materials during a sunrise:
|
|
|
|
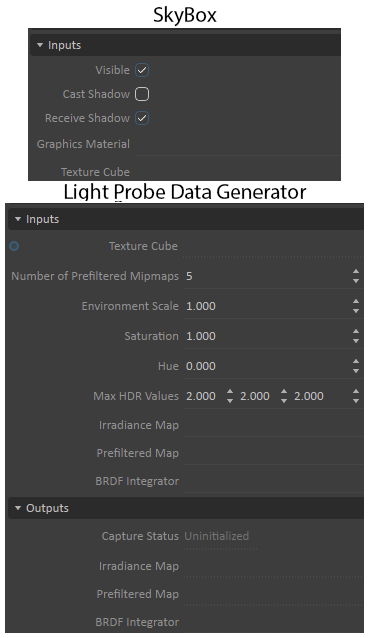
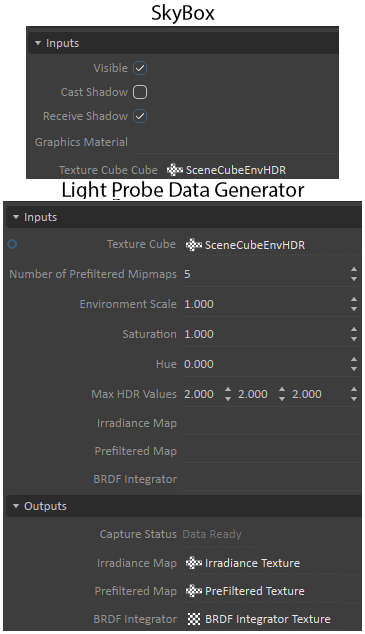
In the SkyBox extension, for the automatic generation to take place, a source HDR environment cubemap needs to be specified (via the Texture Cube input). Once Texture Cube has been assigned, the generation will start and the three parts of the PBR information will be generated.
Below is an example of setting the SkyBox's Texture Cube input to start data generation:
| SkyBox Texture Cube Input Not Set | SkyBox Texture Cube Input Set |
|---|---|
|
|
Note It takes a brief amount of time for this information to be generated.
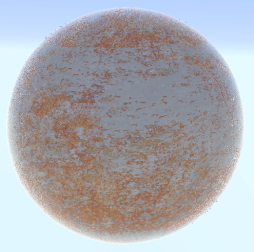
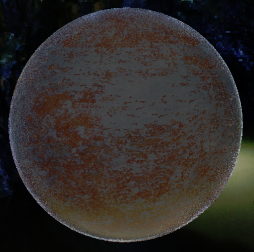
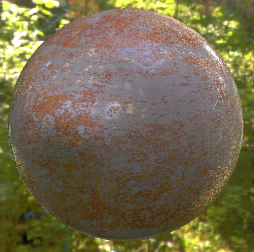
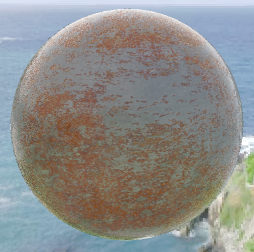
The following is an example of how setting different SkyBox Texture Cubes affects the appearance of the PBR material:
| Default | Cave | Castle | Coastline |
|---|---|---|---|
|
|
|
|
Manual Environment PBR Information Assignment
The SkyBox extension also supports manually specifying the PBR environment data. The cubemaps provided should be in HDR format.
The PBR environment information can be generated by setting the following fields:
- Environment Scale: Alters the colors by the factor set in this field.
- Saturation: Sets the saturating for the generated data.
- Hue: Sets the hue for the generated data.
- Max HDR Value: Sets the maximum acceptable RBG values for HDR. This can be useful for reducing artifacts.
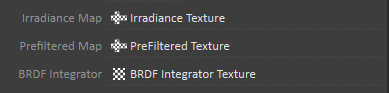
Alternatively, the PBR environment information can be overwritten in the Light Probe Data Generator child extension's inputs by setting the Irradiance Map, Prefiltered Map and BRDF Integrator fields.
If the inputs are set this way, instead of specifying the source cubemap in the SkyBox Texture Cube input, the automatic data generation will not take place and the provided information will be used instead.
One of the ways these textures can be generated is using a tool like IBLBaker. The tool accepts regular HDR environment cubemaps and HDR spherical skyboxes as input, and produces the PBR cubemaps and a BRDF texture. LDR information can also be provided but they will not create the best results. The generated images are then fed into the extensions inputs.
The IBLBaker tool's outputs map to extension inputs as indicated by the following table.
| Tool Output | Extensions Input |
|---|---|
| *DiffuseHDR.dds | Irradiance Map |
| *SpecularHDR.dds | Prefiltered Map |
| *Brdf.dds | BRDF Integrator |