Scene Tutorial 2: Adding Vegetation to a Scene
This module focuses on using Vortex® Studio to add plants and vegetation to existing scenes.
Prerequisites
You need to have Vortex® Studio, the Vortex Studio Demo Scenes and the Vortex Studio Vegetation Library installed to be able to follow all steps in this tutorial.
Preparing the Scene
- Create a new Scene by pressing the "Scene" button in the New Document section of the landing page.
- In the Toolbox, under Environment, double click on Terrain From File...
- In the pop-up window, at the top under "Source", click on the three dots next to "Terrain File".
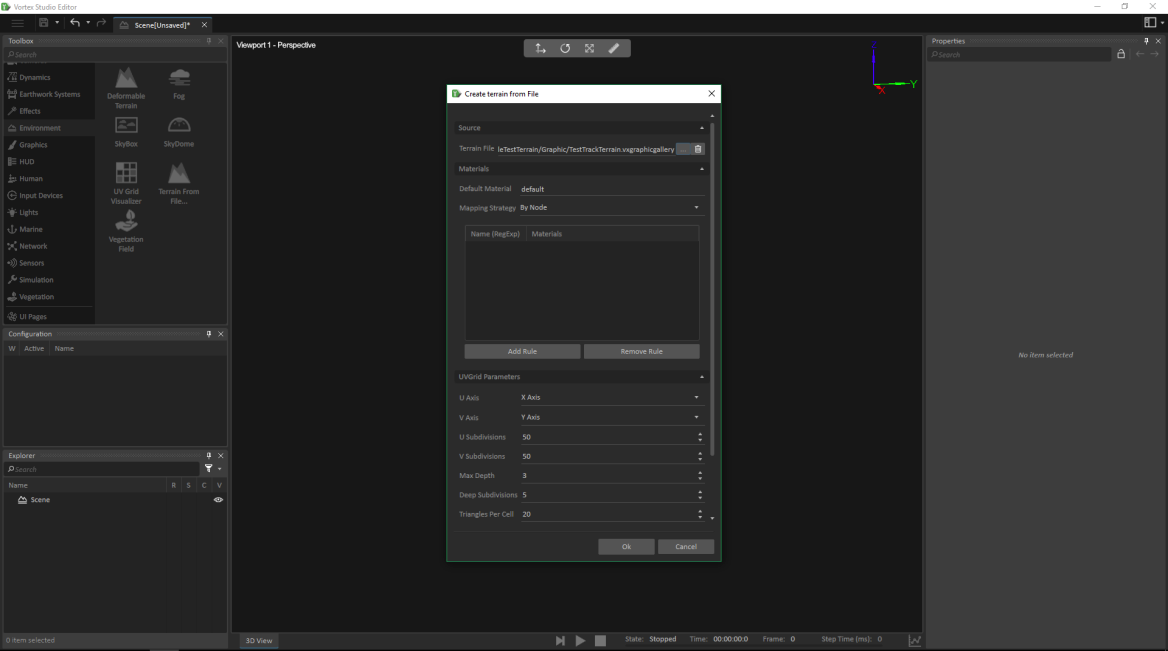
- Select TestTrackTerrain.vxgraphicgallery, located by default in ...\Vortex Studio Content <version>\Demo Scenes\Environment\VehicleTestTerrain\Graphic
- Press "Ok" in the Vortex dialog window.
- In the Toolbox, while still under Environment, add a SkyDome to the Scene.
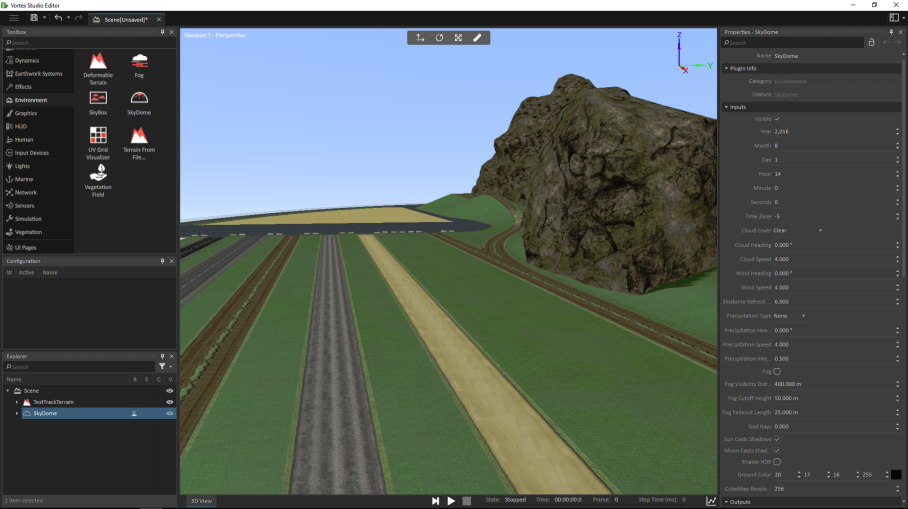
Adding a Vegetation Field
In Vortex Studio it is possible to add a Vegetation Field; in other words an area in which vegetation can be randomly spread and repeated, without having to manually place each piece.
- In the Toolbox under Environment, add a Vegetation Field to the Scene.
Select the Vegetation Field in the Explorer, and edit the properties of the Vegetation Field as follows:
Local Transform Translation (m) -141.000 m 30.000 m -1.000 m Dimensions (m) 345.000 m 28.000 m 100.000 m 
Still in the properties of the Vegetation Field, change the Density to 50.000 unit/ha. Additionally, change the Seed to 3, and watch how the locations of the trees regenerate to a new arrangement each time the Seed is changed.
The Seed value is used to generate random positions for the vegetation. Using the same value will result in forests that have the same distribution, so using different values for this field will give you unique-looking vegetation fields.- Expand the Vegetation Field extension in the Explorer.
- Select Vegetation Field Sample, and under Parameters click on the three dots to the right.
- Go up one folder to the Vortex Studio Vegetation Library, and open the EasternRedCedar_RT folder.
- Open the EasternRedCedar_RT.srt file. This will change the model of the trees found in the Vegetation Field.
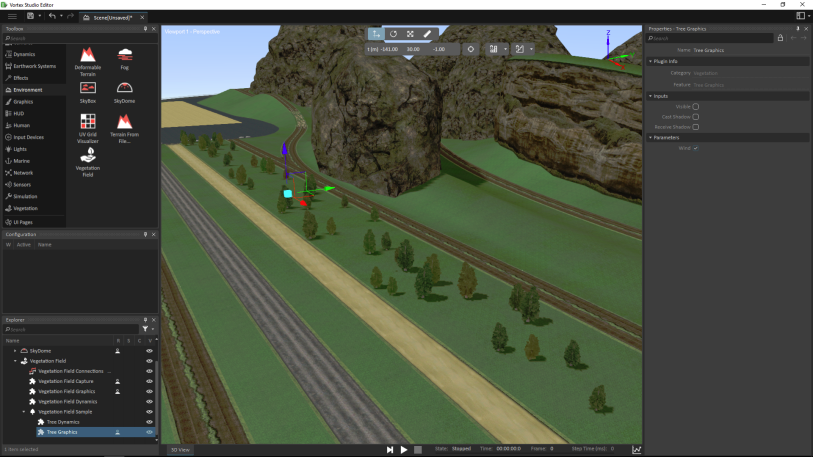
- Expand Vegetation Field Sample in the Explorer, and select Tree Graphics.
- Under the properties, check the "Wind" box.
Adding Wind and Individual Vegetation to the Scene
- In the Explorer, under Vegetation, add Vegetation Wind to the Scene.
In the Vegetation Wind Controller's properties, check the "Wind" box, and change the Wind Strength to 0.750.
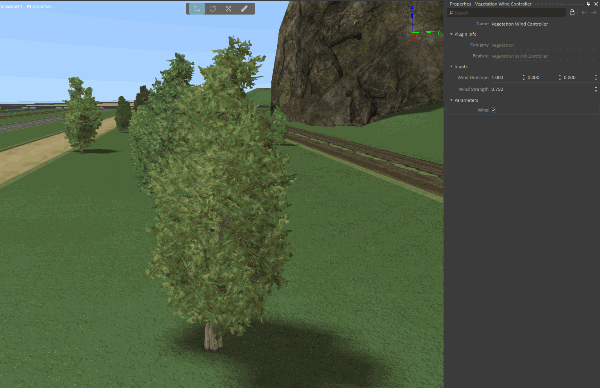
Possible values for the Wind Strength range from 0.0 to 1.0.
- Start the simulation. Move toward the trees added from the Vegetation Field and watch as the leaves sway in the heavy wind.
- Stop the simulation.
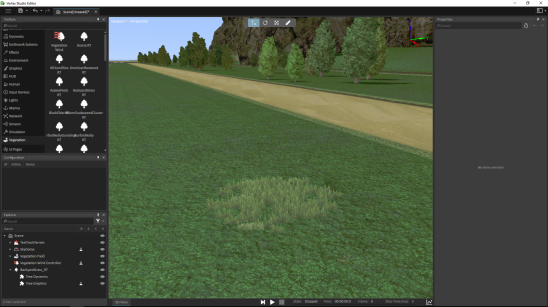
- In the Toolbox, under the Vegetation section, double-click on BackyardGrass_RT to add it the Scene. It will appear at the origin of the scene, so you may need to adjust the camera position to see it. You can select the item in the Explorer and use the Shift-F key combination to focus on this item.
- Select Move in the Viewport, and move the patch of grass to the ground.
- Select BackyardGrass_RT in the Explorer, and duplicate it by pressing Ctrl+D.
- Move the patch of grass to the left.