Vegetation Library
- DEVOPS
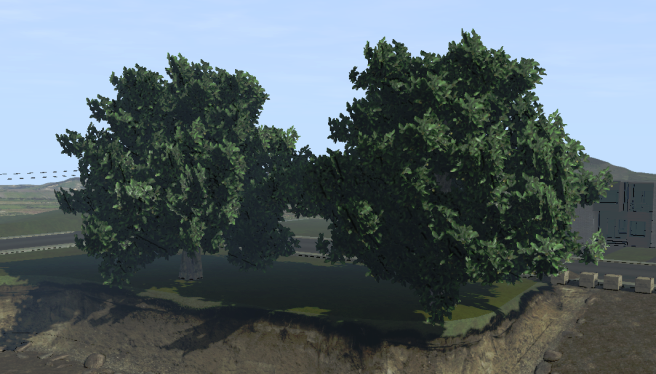 The Vegetation Library feature allows you to add realistic trees, plants and wind to your scene or mechanism.
The Vegetation Library feature is based on licensed SpeedTree technology. Vortex® Studio supports the following SpeedTree features:
- Level of Detail
- Leaf meshes
Billboards
Horizontal billboards are not supported.
Please refer to the official SpeedTree documentation for more information about these features if you intend on importing custom SpeedTree vegetation.
Vegetation
To insert a Vegetation Library object:
- If you haven't done so already, install the supplied Vortex® Studio Vegetation Library file (e.g.,
Vortex_Studio_Vegetation_Library_[version].msi). - Open a scene or mechanism in Vortex® Studio Editor.
- Select Vegetation in the Toolbox.
- Drag the desired type of tree or plant into the 3D View.
At this point, the tree or plant is listed in the Explorer panel.
In the Properties panel, configure the following fields:
- Click the tree you added in the Explorer window:
- Name: Change the name of the tree from the default name provided by clicking the Edit button.
- Move the tree using the Local Transform and Parent Transform controls.
- Render Filename: Allows you to replace the current tree with a different tree file from the library.
- Scale Factor: Changes the proportional size of the tree.
- Click Tree Dynamics found under the tree you added in the Explorer window:
- Name: Change the name of the tree dynamics set by clicking the Edit button.
- Enable Collision: Toggles whether collisions are possible with this object.
Material: Chooses the material of the tree in order to determine how other objects will interact with it. You can select a material from the Materials Table.
Note that trees are static objects and will not move when struck.
- Click Tree Graphics found under the tree you added in the Explorer panel:
- Name: Change the name of the tree graphics set by clicking the Edit button.
- Visible: Toggle this box to make the tree appear or disappear.
- Cast Shadow: Check this box to have the tree cast shadows on other objects.
- Receive Shadow: Check this box to have the tree receive the shadows of other objects.
- Wind: Toggles whether this object sways with the wind. Vegetation Wind must be set up for this to work; see Wind below.
Wind
In order for vegetation objects to react to wind, you must add the Vegetation Wind Controller.
To add wind:
- If you haven't done so already, install the supplied Vortex® Studio Vegetation Library file (e.g.,
Vortex_Studio_Vegetation_Library_[version].msi). - Open a scene or mechanism in Vortex® Studio Editor.
- Select Vegetation in the Toolbox.
- Double-click Vegetation Wind.
Specify the following in the Vegetation Wind Controller's Properties panel:
- Wind Direction: Choose the direction of the wind by specifying its X, Y, and Z values.
- Wind Strength: Specifies a strength for the wind on a scale of 0 to 1.
- Wind: Select this box to turn the wind on.
Note To have the wind affect the vegetation objects, you must make them individually interact with the wind. You can do this by toggling each object's Wind parameter found in its Tree Graphics Properties panel.