Vessel Simulation with MARIN XRI
 If you need to simulate vessels and offshore conditions in a valid and verifiable way, you can use ship files created with MARIN© XMF Runtime Interface (XRI).
MARIN XRI is a specialized software for realistically simulating natural offshore conditions to test ships and operations.
By default, your Vortex Studio installation includes MARIN XRI sample ships (XMF files) that you can test in your simulations.
To create your own vessel, you must contact MARIN and get a valid license.
Tell me About ...
Setting up Vortex for use of MARIN XRI features
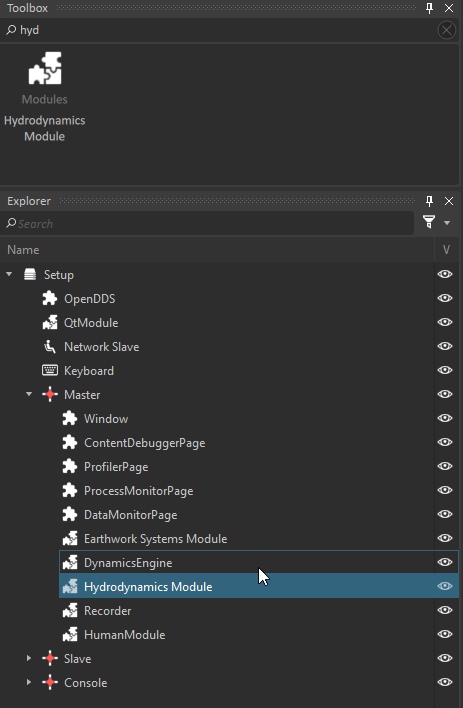
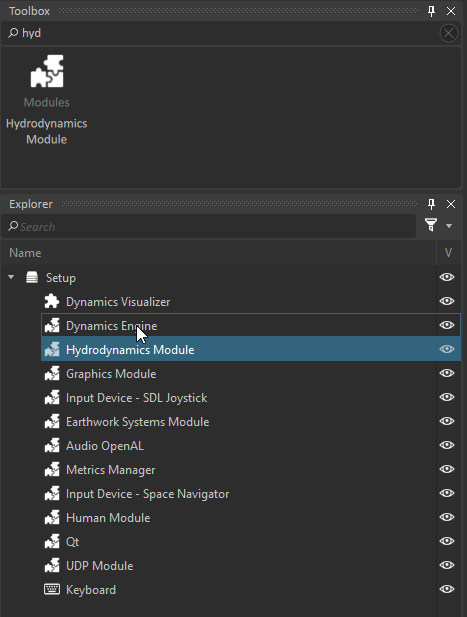
In order to use the Hydrodynamics features of Vortex Studio, the Hydrodynamics Module must be added on the engine node of your application setup file, at the same level as the dynamics module
- Open the Vortex Studio Editor.
- Select the setup of the application you want to use to simulate hydrodynamics.
- Add the module by selecting it from the toolbox in the module section and dragging it next to the dynamics module
- Save your setup.
Setup for Vortex Studio Player
Setup for Vortex Studio Editor
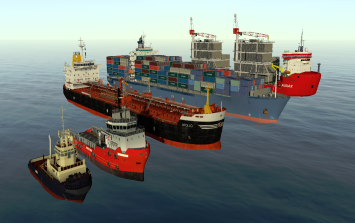
Adding a Sample Ship to a Simulation
Vortex Studio comes with several sample ships that you can add to your simulation. Specifically, you can add any of the following ships:
- A Panamax container ship
- An Audax heavy load carrier
- An Apollo Oil Tanker
- An anchor-handling tug supply (AHTS) vessel
- An azimuth stern drive (ASD) tug boat.
To add a ship to your simulation, do the following:
- Open the Vortex Studio Editor application.
- Open a scene.
- In the view drop down, make sure the window shows the Asset Browser.
- In the Asset Browser pane, navigate to C:\CM Labs\Vortex Studio Content [releaseNumber]\Samples\vessels\.
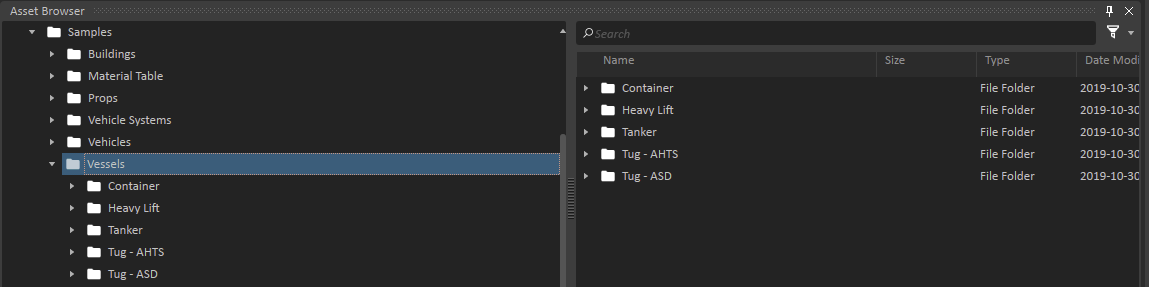
- In the folder for the ship you want to add, open the vortex folder and drag the ship mechanism into your scene.
Now, you can attach objects to the ship or add a body of water to the simulation.

Attaching an Object to a Ship
You can attach an object to the ship by positioning the object in the correct location on the ship and creating an attachment or constraint at the base of the object. For example, in the following example, you attach a knuckle-boom crane to the deck of the oil tanker ship:
- Navigate to the oil tanker ship sample in C:\CM Labs\Vortex Studio Content [releaseNumber]\Samples\Vessels\Tanker\vortex\ and add the mechanism to the scene
- Navigate to the Hydromarine_KnuckleBoom offshore crane mechanism in C:\CM Labs\Vortex Studio Content 2019.21\Demo Scenes\Equipment\OffshoreCrane\Hydramarine\Dynamic\Design and add it to the same scene.
- Position the crane over the ship, so that the hook and cable are over the water.
- Create an attachment between of the KnuckleBoom and the Hull of the Collision→Ship Assembly. This lets the Knuckle Boom follow the ship displacement. For more information about creating attachments, see Attaching Objects Together.
Adding a Body of Water
When you add a ship to the scene, it has a body of water that it floats in by default. The default body of water is a flat surface with no graphical appearance. To see the body of water accessory, you can display the accessories associated with the ship.
If you want to add a graphical appearance to the body of water, you must add the Marine Ocean extension from the Editor Toolbox.
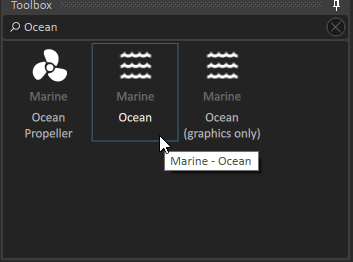
With the Marine Ocean extension and graphics, you can display waves that do not affect the behavior of the ship:
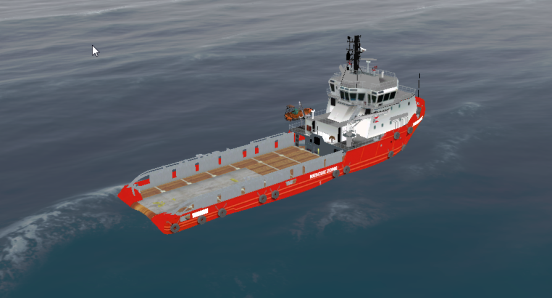
To make the ship react realistically to waves, you must configure the Marine Wave Generator extension and specify wave and wind properties for the simulation.
Adding Waves and Wind to the Simulation
To make the ship hydrodynamics account for changes to waves, you must add the Marine Wave Generator extension and connect it to the Ocean Dynamics extension. You must create a connection container which connects the Wave Generator Ocean output to the Ocean Dynamics Ocean input.

Once you connect the Wave Generator extension to the Ocean Dynamics extension, you can specify the following inputs to customize how the ocean behaves in the simulation:
- Wave Height
- Wave Direction
- Wind Velocity
- Wind Direction
- Sea Current Velocity
- Sea Current Direction
- Peak Period
Specifying the Direction of Wind and Waves
The system expresses Wind, Sea Current and Wave direction as an angle, in degrees, from the Y positive axis. When you enter a value for the angle, wind, sea current or waves begin on a circle at the angle you specified and blows or propagate toward the center of the circle.

Adding a Custom Ship
For a custom ship, you must request an XMF file and valid license directly from MARIN. If MARIN gives you the custom license with the XMF, then you must use add that license to Vortex Studio.
Because Vortex Studio only lets you use one MARIN license at a time, you cannot use a custom ship in the same scene as any sample ships.
To Add a License for a Custom Ship
To use a license for a custom ship from MARIN in Vortex Studio, you must set the environment variable MARIN_LICENSE_PATHS to the directory that contains your license file and restart Vortex Studio.
NOTE: If the environment variable points to more than 2 directories (Ex set MARIN_LICENSE_PATHS=c:\first_dir;d:\the_second_dir;) the license in the first directory (c:\first_dir) will be used.
NOTE: If there are two licenses in a directory, the first license (sorted in alphabetical order) will be used.
Checking MARIN XRI Log Messages
Since the Hydrodynamics simulation is powered by MARIN XMF Runtime Interface (XRI), the logging for the Hydrodynamics has its own log file located in your temporary directory (%TEMP%). The name of the logging file is composed as follows, TheProcessFileName_xri_TheHostName_TheProcessID.log. (Ex: VortexEditor_xri_wks00308_34118.log).
By default, the file contains only error messages generated by the Hydrodynamics. The logging level is set to Error but you can change the logging level used to filter the messages. When the threshold is set, only messages with a priority greater than or equal to the current level are outputted. Any fatal errors cause the program to exit. The MSTNFYLEVEL environment variable can be set to the string values:
| String | Level | Comment |
|---|---|---|
| none | 0 | No message Logged |
| always | 1 | |
| fatal | 2 | |
| error | 3 | |
| warn | 4 | |
| notice | 5 | |
| info | 6 |