How to set Loading Images in Unity
- DEVOPS
Vortex allows showing an image on each display of a simulator when it is not running a simulation, using the Display Loading Image extension. A loading image is displayed until the simulation is started and reappears when the simulation stops. The Display Loading Image extension should be added to your Setup vxc file.
This feature is also available on Unity, using the Loading Images component in a Vortex Unity projects.
Creating a prefab for a Loading Image
Following the rules in this link How to associate Vortex Objects to Unity prefab, configure the loading images in Unity through these steps:
- Open a Unity project which contains the Vortex Unity integration package
- Create an empty GameObject
- The GameObject should have the same name as the Loading Image extension in the vxc. If the extension is in a Node, the name of the Node should be prepended to the name of the extension.
- Add a Vortex Loading Image component to the game object
- In this component: set the "Timeout after Sim start" field in seconds, to determine how long the asset should be displayed after the simulation is started. This is useful to hide from the user the initial settling of the simulation.
- When the simulation starts, and after the timeout specified, the game object will be disabled.
- Add the visual effect to the game object
- To display an image, you just add a Canvas to the game object and the image you want to display.
- Complete the game object with the visual effect of your choice.
- Create a prefab with your game object.
- Create a folder in the Unity Asset with the same name as the vxc file
- Create a prefab from the GameObject and place it in the folder created for the vxc file
- Export the prefabs to an asset bundle and place this asset bundle next to the vxc file.
Creating Loading Image when there is multiple displays
- When a simulator contains more than one node:
- There should be a one prefab for each node that needs a loading image.
- For nodes with multiple displays
- The prefab should contain as many Canvas component as there are displays
- Make sure the "Target Display" field is set properly in each components
- The components can be directly at the root GameObject, or in child GameObjects
Example
Let's go through the procedure to display a loading image on one display. Here's how this could be done:
- Make sure your vxc file contains a Loading image extension.
- Open the vxc file in the Vortex editor to verify and/or add Loading Image extensions
- Loading Image extensions can be at the root of the Setup file or under a Node. That will affect the name of the prefab.
- Open the Unity editor in a Unity project using the Vortex Unity integration package
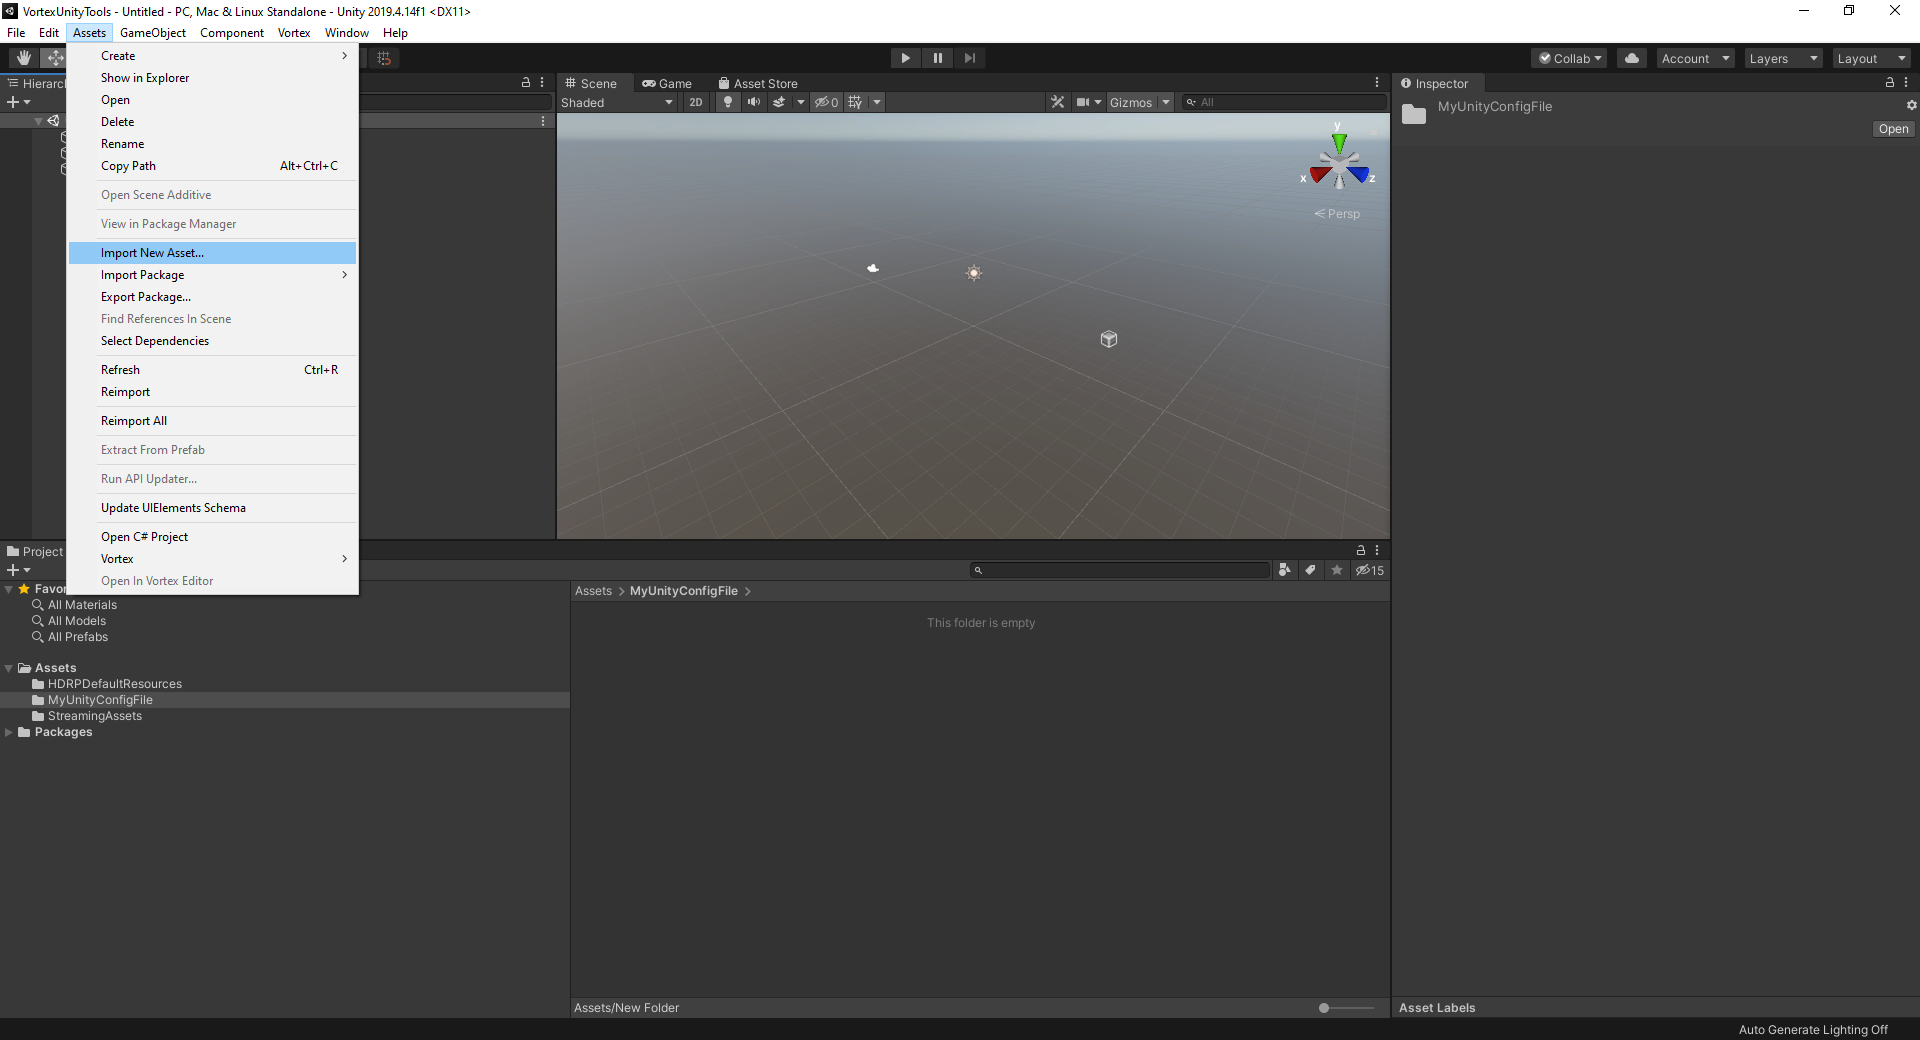
- Create a folder in your project assets that has the exact name as your vxc file.
- For example, when using MyUnityConfigFile.vcx, create folder named MyUnityConfigFile

- For example, when using MyUnityConfigFile.vcx, create folder named MyUnityConfigFile
- Import an image asset that will be used as loading image into the MyUnityConfigFile folder
- Set the imported image's Texture type to "Sprite (2D and UI)"
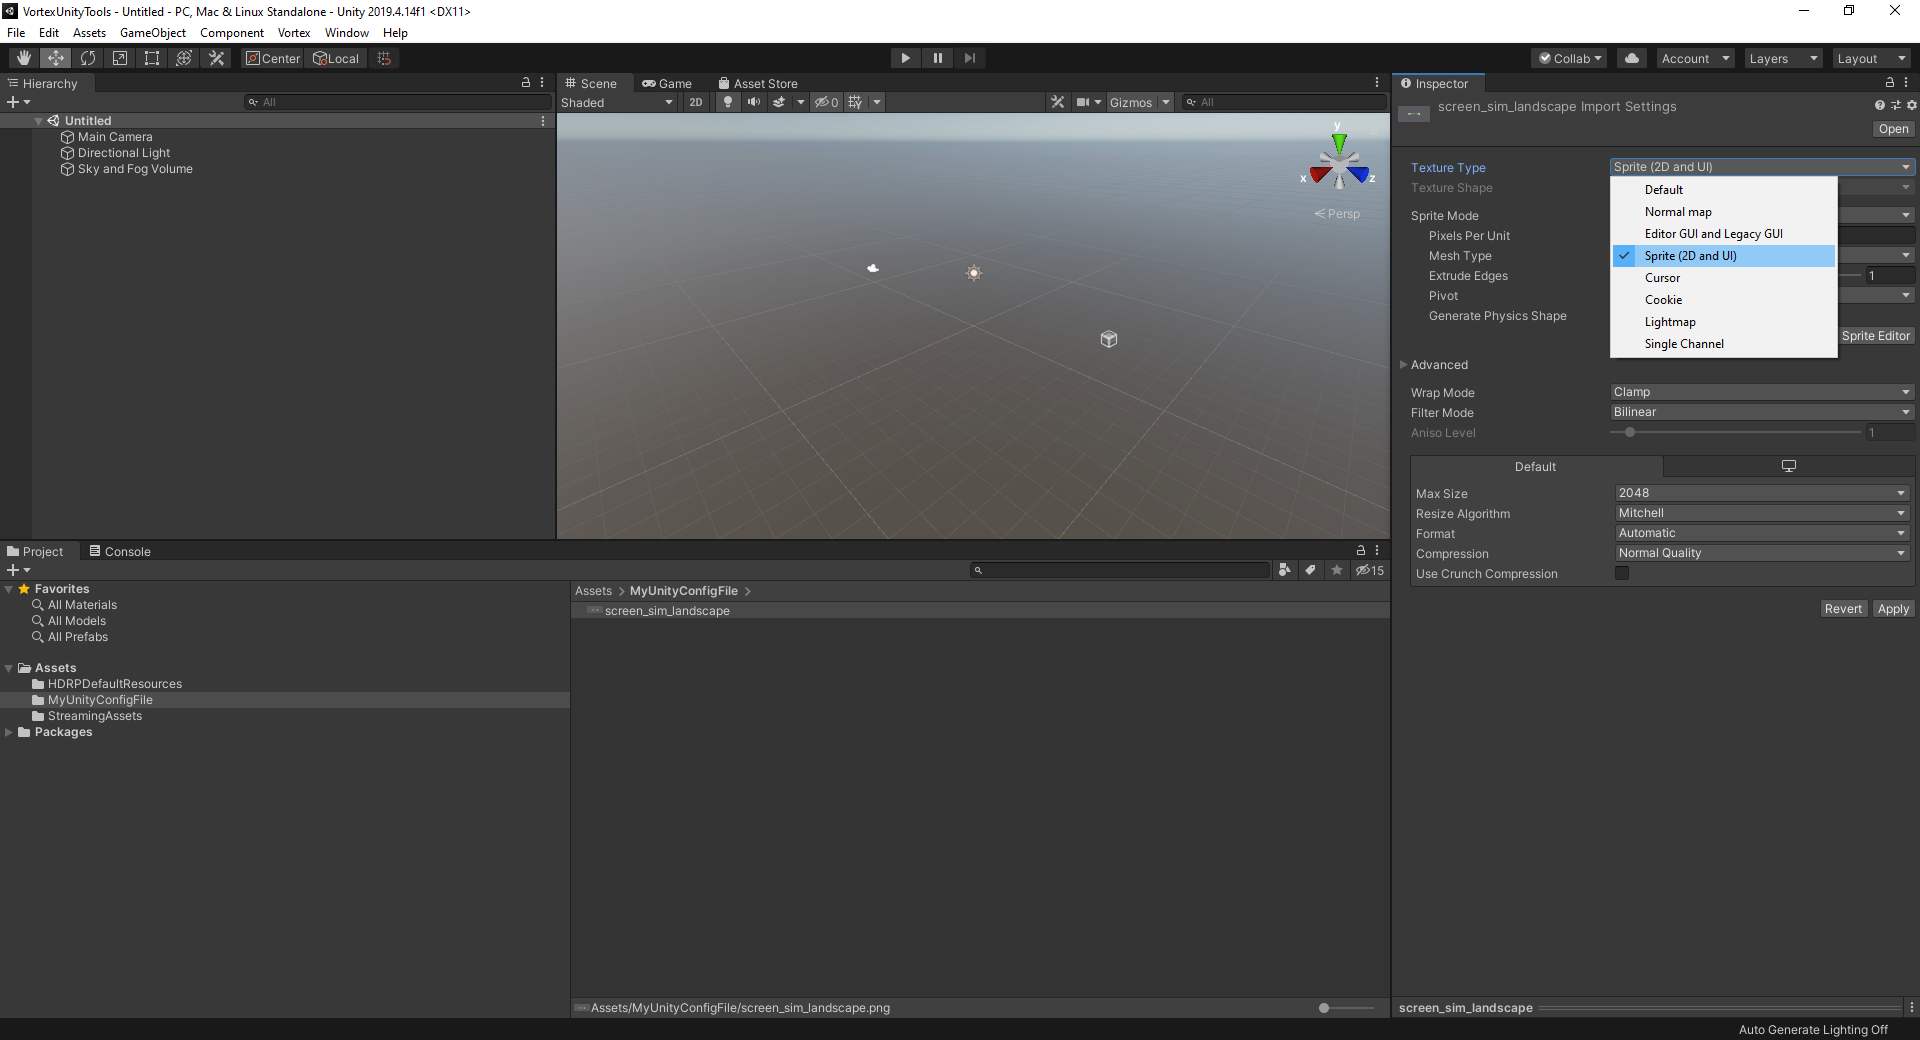
- Apply changes to make sure a new Sprite asset is created under the image asset.
- Create a Canvas game object (GameObject/UI/Canvas). Slide the new Canvas into the MyUnityConfigFile folder.

- Rename the canvas with the concatenation of the node name, a dot, and the Loading Image extension name.
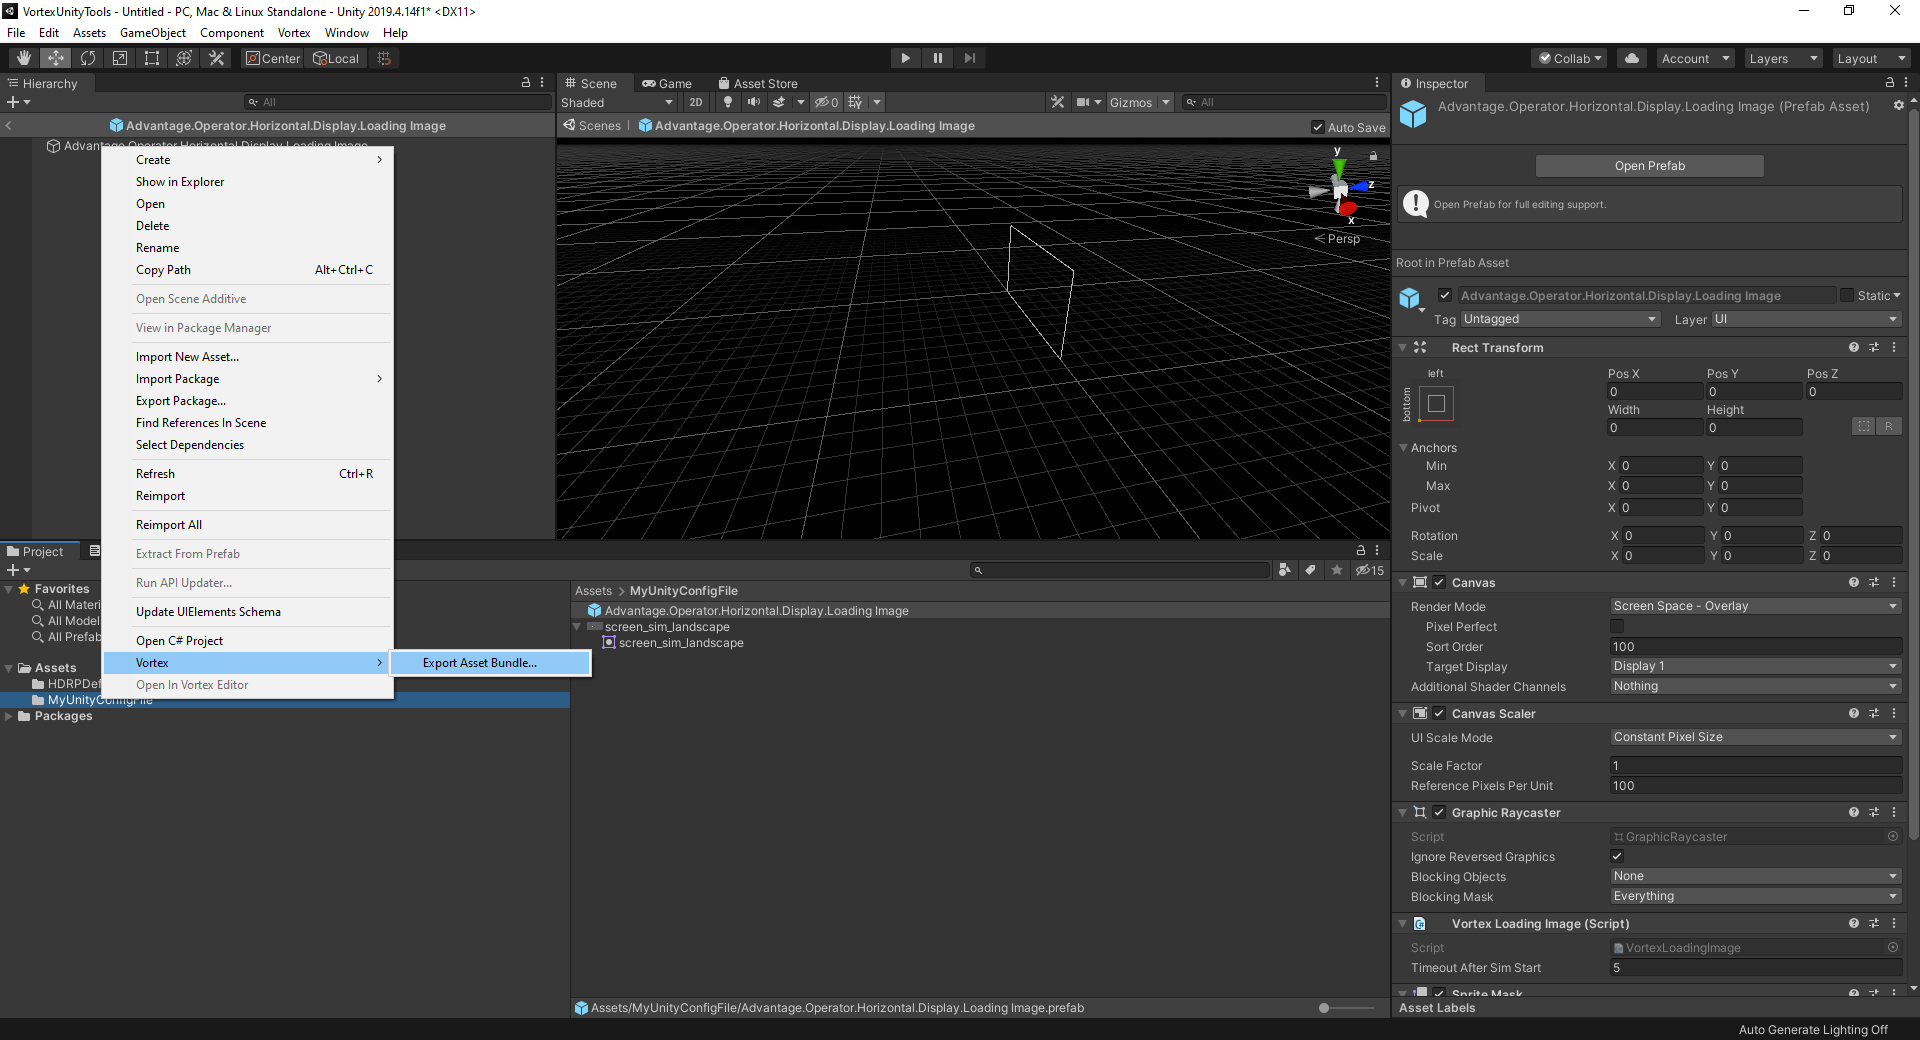
- Example: for the vxc case below, the canvas prefab should be named: "Advantage.Operator.Horizontal.Display.Loading Image"
- If the "Display.Loading Image" extension was not the child of a node, the canvas prefab should simply be named: "Display.Loading Image"

- Make sure the Canvas prefab has its Render Mode set to "Screen Space - Overlay"
- Set the Canvas "Sort Order" field to a value that is greater than any other asset in the project.
- Start with 100, which should be enough. Increase value if needed.
- Add a UI Image component to the canvas prefab.
- Make the UI image reference the Sprite that was created above.
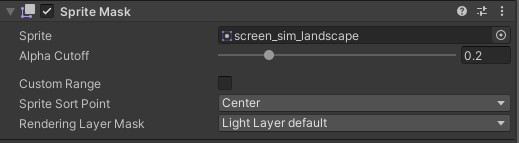
- Make the UI image reference the Sprite that was created above.
- Add a Vortex Loading Image component to the canvas.

- In the new Vortex Loading Image component, adjust the value for the "Timeout after Sim start" field, as preferred.
- Finally, create an asset bundle with the prefabs contained in the MyUnityConfigFile folder:
- Right click on the MyUnityConfigFile folder. Choose "Vortex/Export Asset Bundle" in the context menu.
- Right click on the MyUnityConfigFile folder. Choose "Vortex/Export Asset Bundle" in the context menu.
- Export the resulting MyUnityConfigFile.unity3d file into the same folder as the MyUnityConfigFile.vxc configuration file.
Following this step, any simulation project that uses MyUnityConfigFile.vxc with Unity displays will display loading images in a similar way as it is done in Vortex native displays.