/
Creating a Mirror
Creating a Mirror
- DEVOPS
Owned by DEVOPS
Oct 05, 2021
In this tutorial, you will learn how to add a mirror to a mechanism in Vortex® Studio Editor.
This tutorial is based on a 3ds Max model seen in the first step, below.
| Task | Action | References |
|---|---|---|
| Detach mirror | In 3ds Max, detach the mirror surface from the rest of the geometry. |
|
| Unwrap UV | In 3ds Max, the mirror surface geometry requires a new UV Unwrap. The unwrap needs to occupy the full 0 to 1 UV space. |
|
| Export the model | Still in 3ds Max, export the model to .DAE (OpenCOLLADA) file and load it into the Graphics Gallery. |
|
| Apply new material/texture | In Vortex Studio Editor, apply a new material to the mirror surface and apply a texture of your choosing to the Emission slot. |
|
| Load the Graphics Gallery | Create a new mechanism and load the Graphics Gallery from earlier. |
|
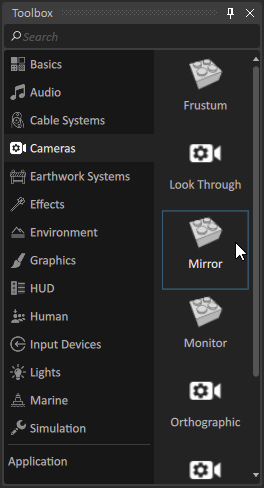
| Create a mirror extension | Select Cameras in the Toolbox, and then select Mirror as the name. Double-click it or drag it to the desired location in the Explorer panel to add it. |
|
| Load texture | Load the exact texture into the mechanism (the same texture you previously loaded into the Graphics Gallery). |
|
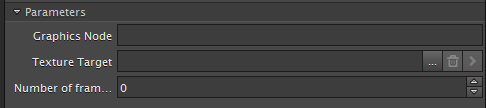
| Select texture target | Select the mirror extension in the Explorer panel. In its resulting Properties panel, select the texture that you imported in the previous step as the Texture Target. |
|
| Move mirror | At this point, you should have a working mirror. You can move the mirror around the viewport to change what appears reflected on the mirror geometry. |
|


If the mirror belongs to a movable object in the scene (e.g., a vehicle), make sure to add a connection between the mirror and the mechanism in question so that they move together.
, multiple selections available,