Customizing Your Workspace
- DEVOPS
You can also pin and unpin panels. The following shows the icons used for performing these actions. Refer to the table below for descriptions.
| To | Do this |
|---|---|
| Pin/Unpin | Toggle between pinning and unpinning a panel by clicking the Pin button. When you unpin a panel, the panel is minimized in a tab displaying the name of the panel. Hover over the name to display the panel. To pin the panel to your workspace, click the Pin button. |
| Close | Click the X button of the panel to close the panel or application. To relaunch the panel, select the panel you want to open by pressing |
Displaying Panels
To select which panels to appear in your user interface:
From the main menu, click the Panel Selection drop-down button
 .
.Select one of these panels to display it:
-
Customizing the Grid
Use the following procedure to customize how the grid appears in the 3D View:
From the right-click menu, select Grid....
The Grid Options window appears.
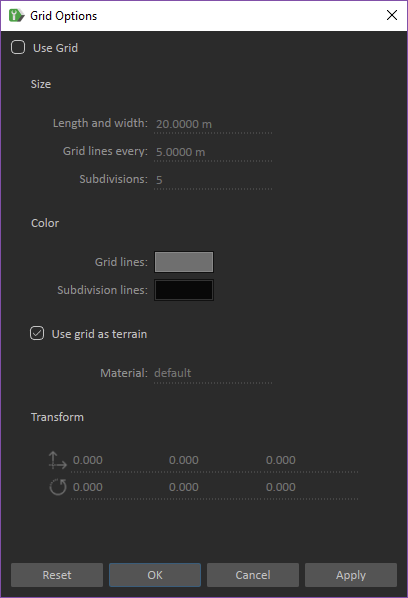
Make sure that Use Grid option is enabled.
In the Size section, enter the Length and width of the Grid in meters.
Length and width= 200 meters
Length and width= 50 meters
Define the a grid line per distance. For example, if you want to have a grid line every 5 meters, enter 5 and if you want a grid line every 20 meters, enter
20as the Grid lines every value.Grid lines every= 5
Set the Subdivisions value of a grid, which is the number of divisions inside a grid.
Subdivisions=2:
To set the color and its transparency of the Grid lines, and Subdivision lines, click the specific color chip and pick what you want from the Select Color window.
- The color of the grid lines is set to yellow:
- The color of the subdivision lines is set to red:
- To set the material for the grid, make sure the Use grid as terrain option is enabled, then select a material from the drop-down list.
- You can change the position of the grid by using the available Transform tools. Pressing Reset places the grid back to the origin.