Configuring Viewports
- DEVOPS
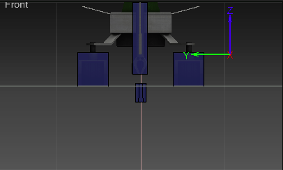
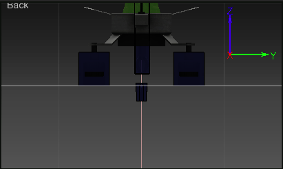
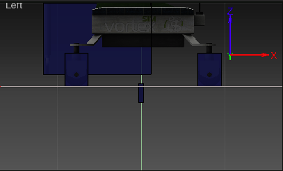
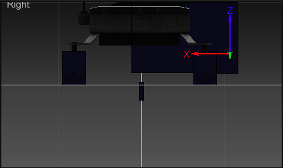
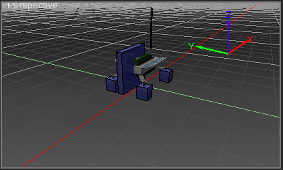
You can view objects through one, two, three, or four viewports. For example, this is one viewport configuration that displays four views in equal proportion: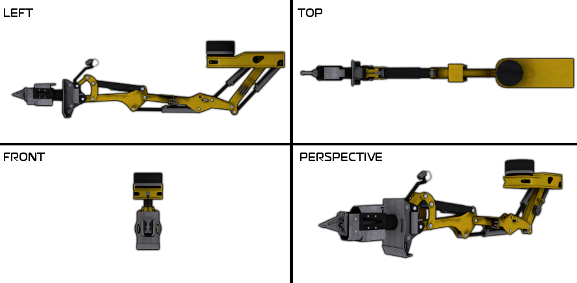
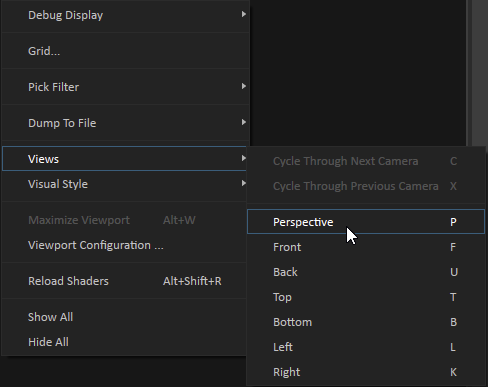
There are seven types of views that you can choose from when viewing your objects in the 3D View: six orthographic (2D) and one perspective (3D).
| Top |
| Bottom |
| |
| Front |
| Back |
| |
| Left |
| Right |
| |
| Perspective |
|
You can customize your viewport layout and controls in a number of ways:
 Changing the Viewport Layout
Right-click the 3D View and select Viewport Configuration...
The Viewport Configuration window opens.
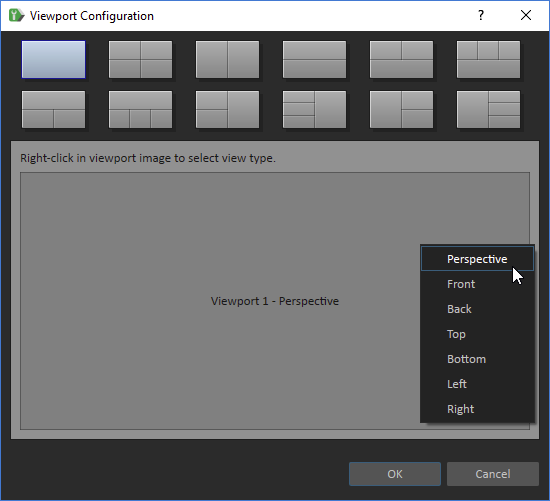
Select a viewing configuration and click OK.
The new viewing configuration is displayed in the 3D View.
Switching the Viewport Display View
|
|
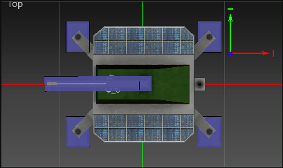
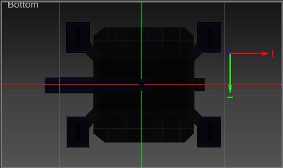
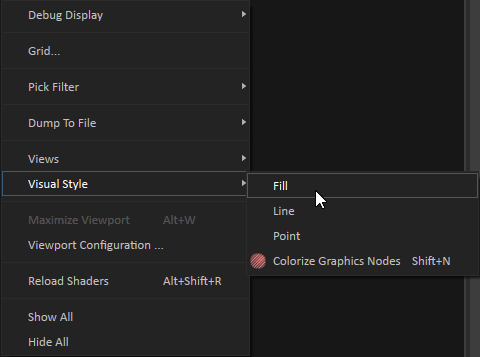
Changing How Dynamics Object Appear in the Viewport
|
By default, the Fill style is enabled, which means that Dynamics objects (collision geometries) appear with solid blue faces. |
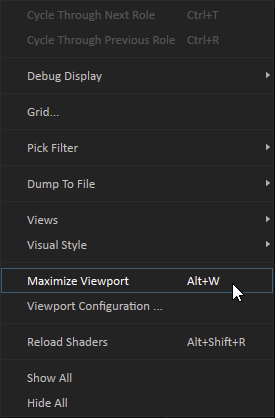
Maximizing or Restoring a Single Viewport
|
|